After successfully repairing my old Commodore 1351 mouse, I bought another one on Ebay for cheap to see if I could use what I had learned. As it turned out, the new one was fully functional, so it didn't need any of the same electronics work. Instead, the plastic was yellowed and uneven, which meant I had a good reason to finally try de-yellowing old plastic.
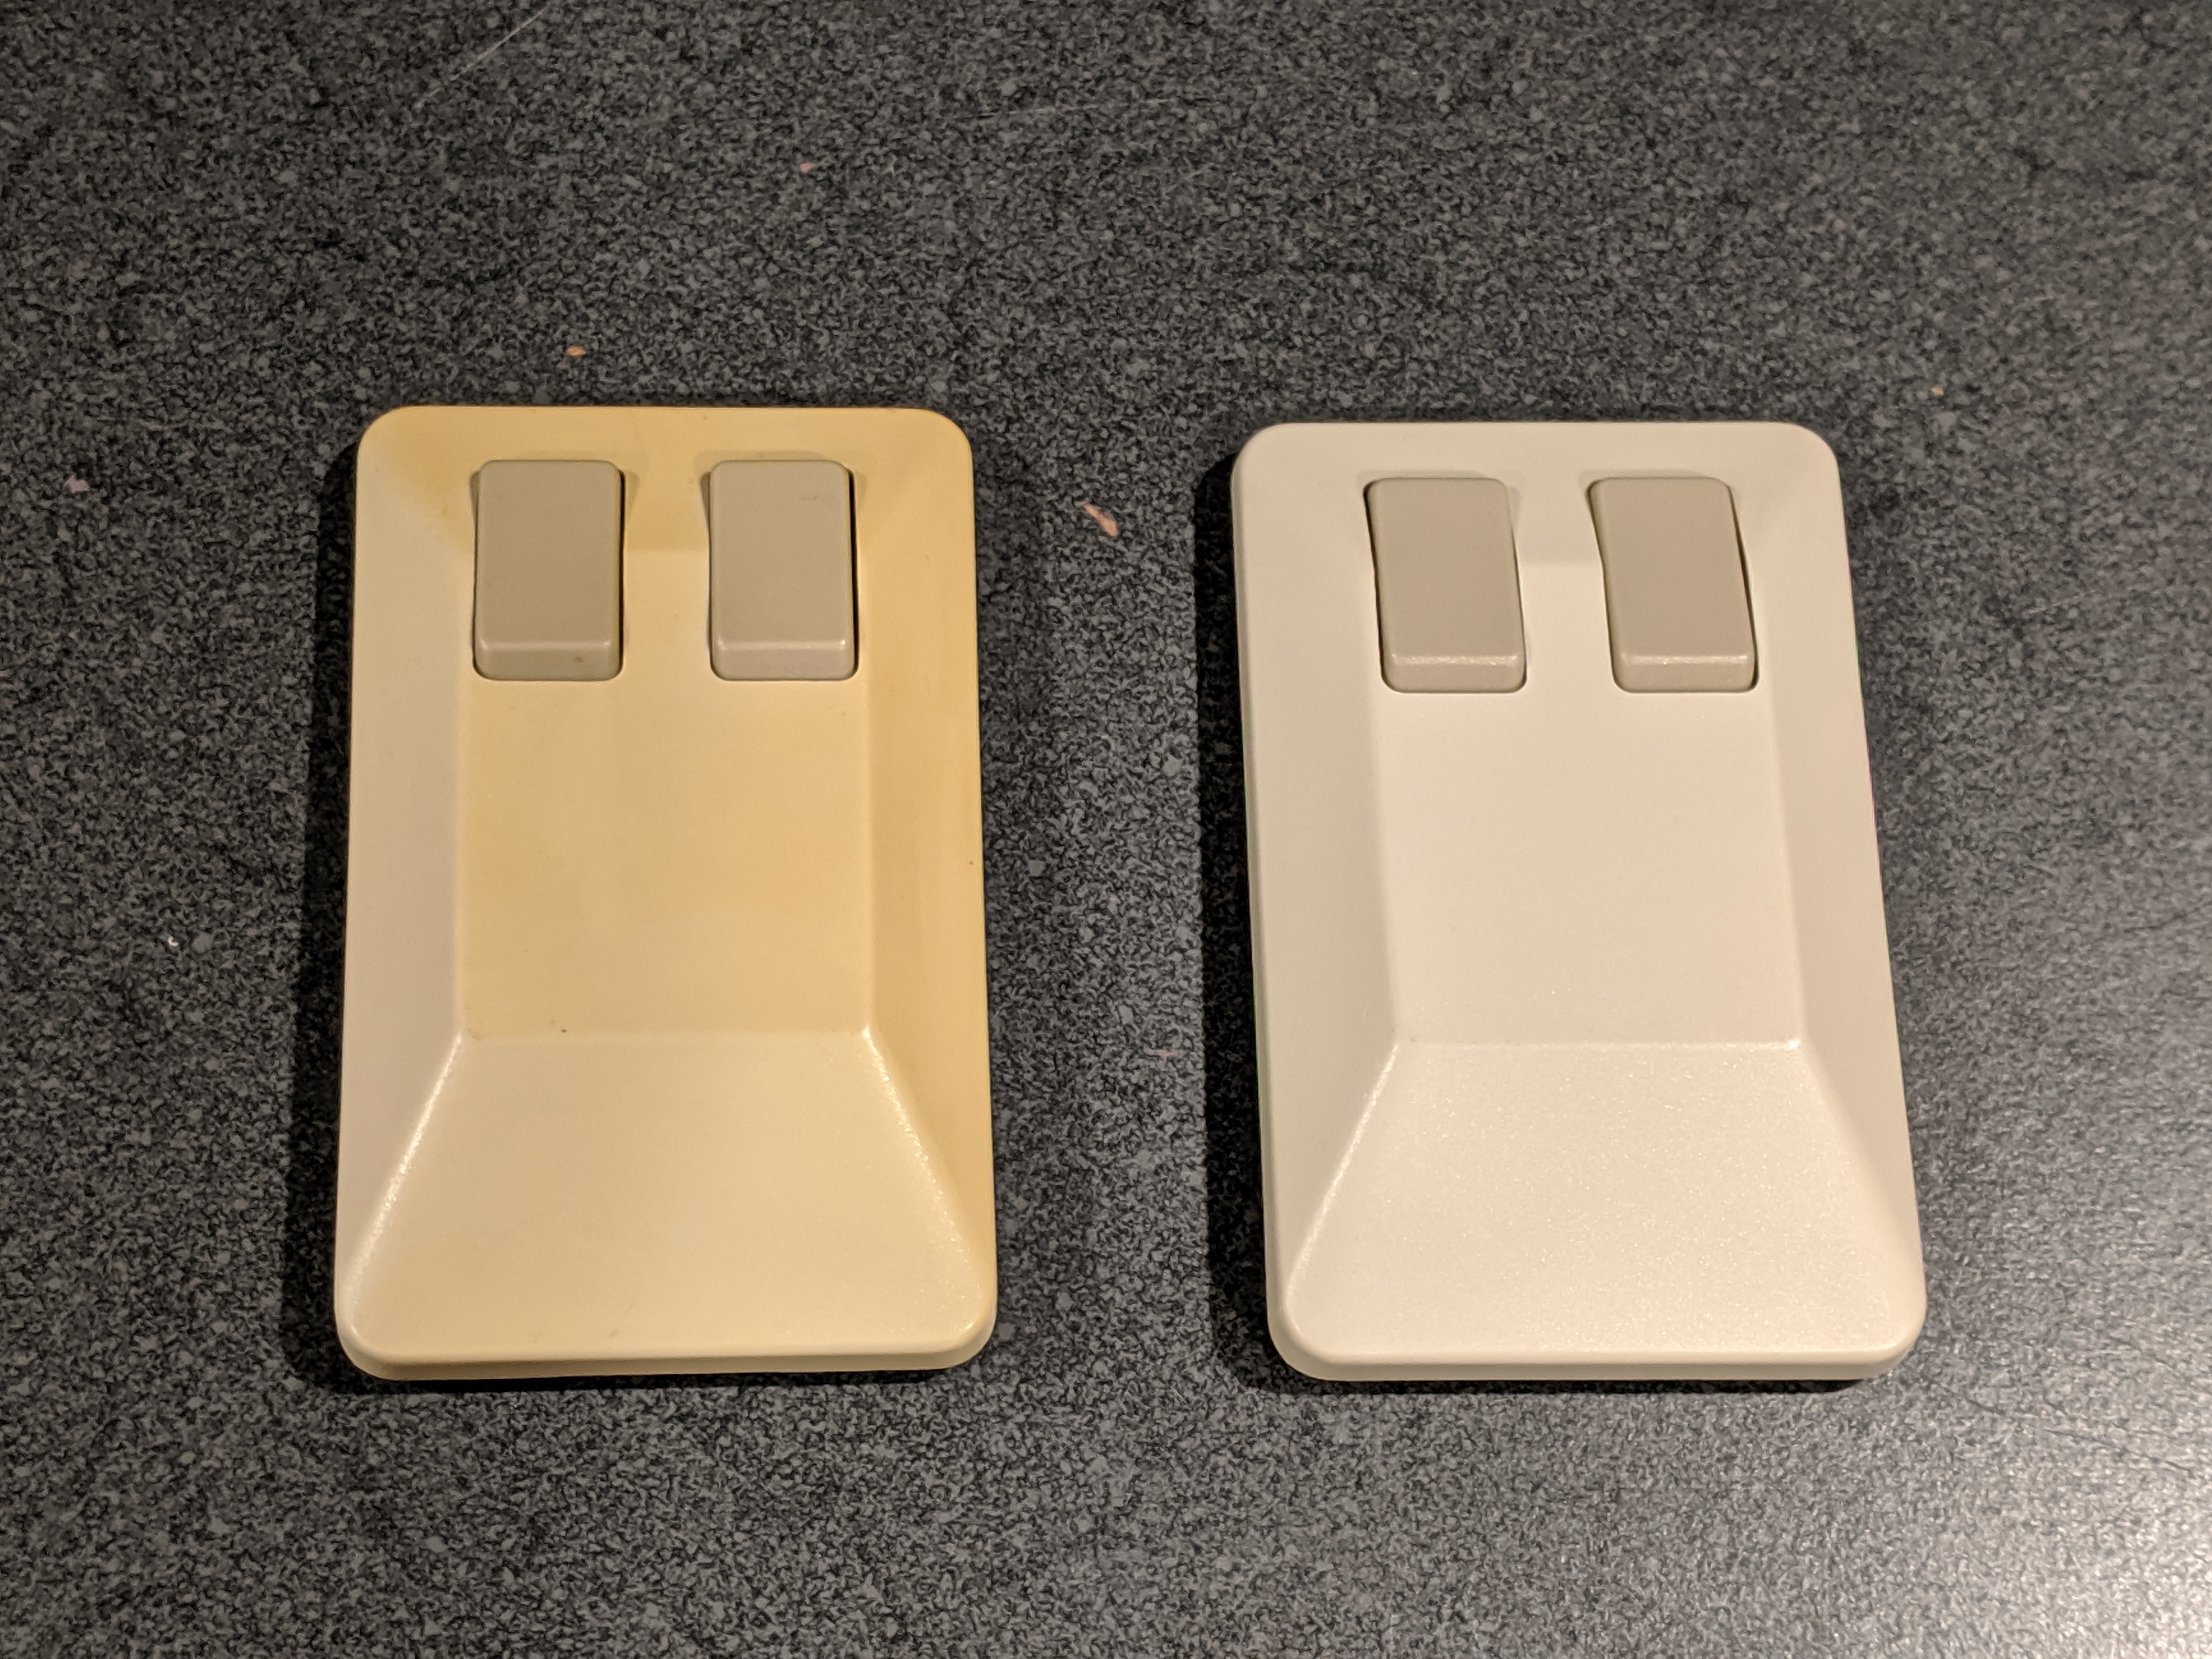
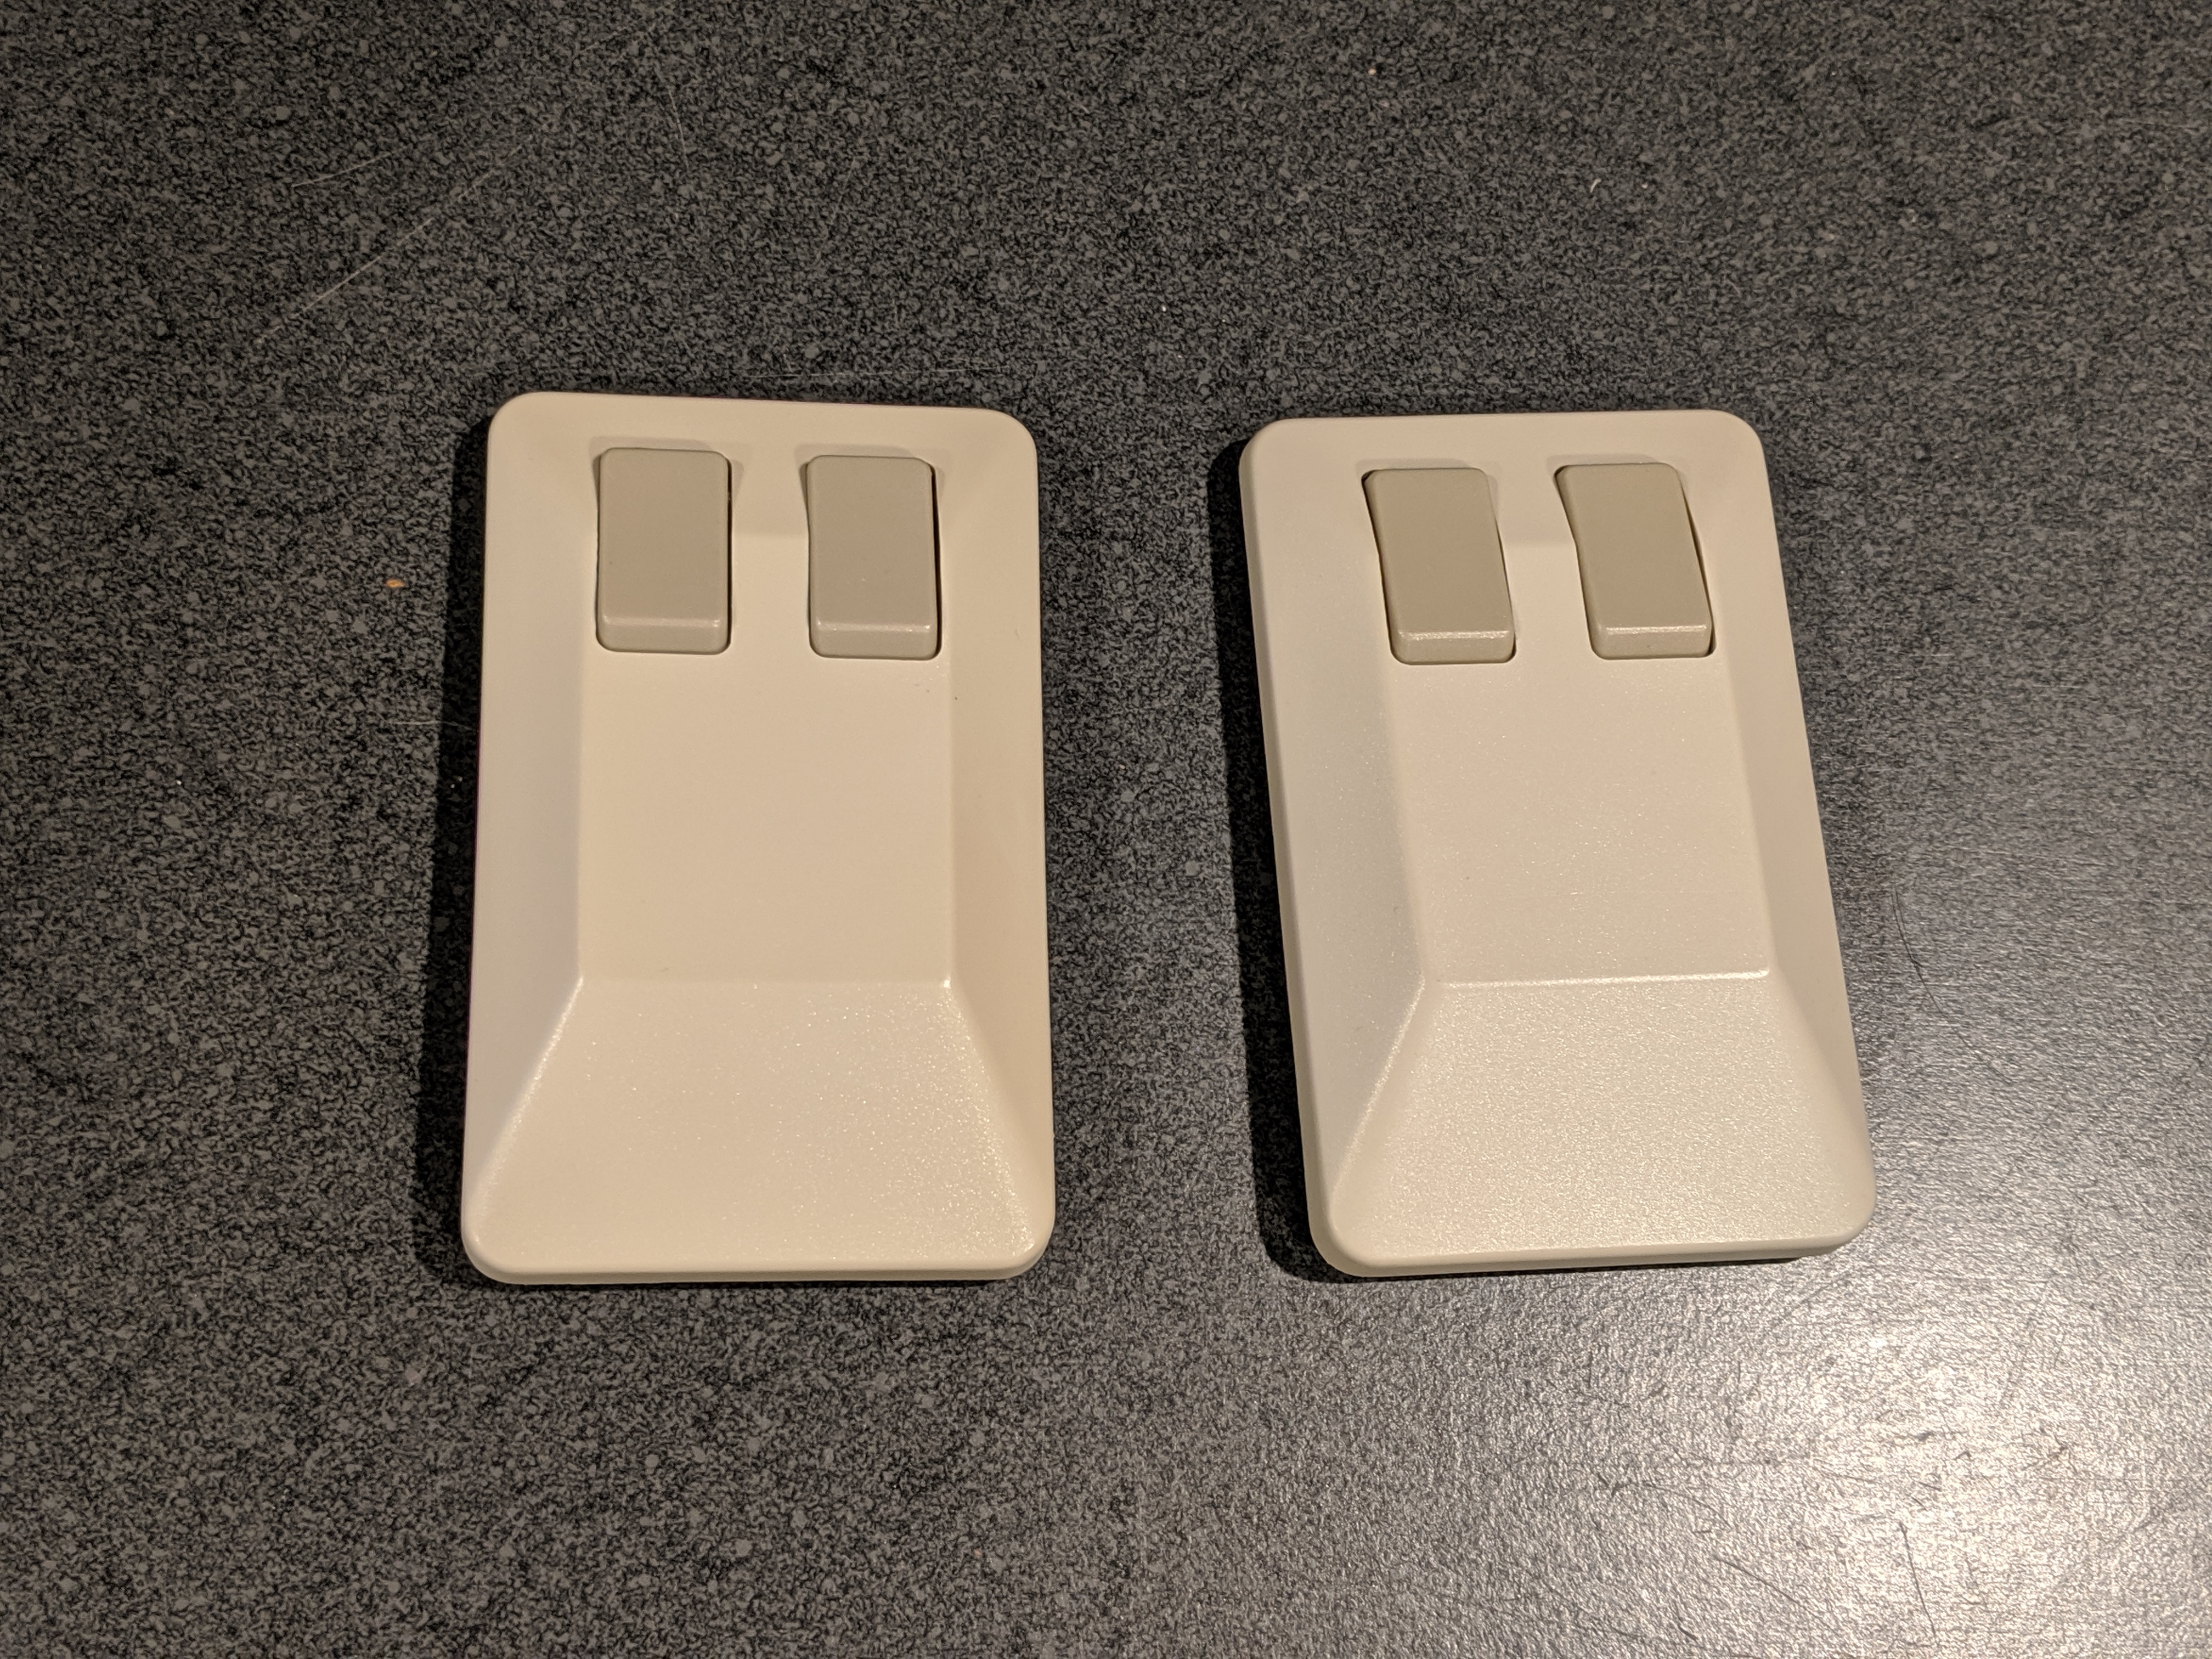
Like a lot of ABS plastic from the 1980's, the mouse I got on Ebay was yellowed from UV exposure. The mouse in question is on the left. It doesn't show well in this image, but the color was also uneven on the different faces. The mouse on the right is closer to the correct color. It'll serve as a reference for what I'm aiming for.
There's contradictory information online about what causes yellowing in ABS plastic. It's probably because of free radicals formed when UV breaks down polymers in the plastic. Or maybe it's caused by bromine in a flame retardant additive. Or maybe the bromine has nothing to do with it. Or maybe the bromine just accelerates a process that would happen to ABS even without it. I can't claim to know who's right. If somebody can show a compelling argument for which of these is right, I'll happily update this page.
The cause of yellowing aside, everybody seems to agree that hydrogen peroxide, activated by heat or UV light, helps to reverse the yellowing, though the effect is probably only temporary. One technique, which its creators call call Retr0bright, involves hydrogen peroxide, Tetraacetylethylenediamine (Oxy cleaner), and UV light. Others claim that this mixture is "completely stupid and redundant", because TAED is just another source of hydrogen peroxide. And there are non-hydrogen-peroxide based techniques, including (bizarrely) just leaving it in the sun for more UV exposure. Despite the variety, the term "retrobright" (or "retrobrite") has caught on as a generic term for de-yellowing plastic.
The 8-Bit Guy did a great video comparing the effectiveness of the various techniques. His go-to technique used to be hydrogen peroxide paste spread on the plastic in a thin layer. But this technique can lead to streaking or marbling if applied unevenly. His current recommendation is submersion in clear liquid hydrogen peroxide, if you can get a high enough concentration for the amount of liquid you need.
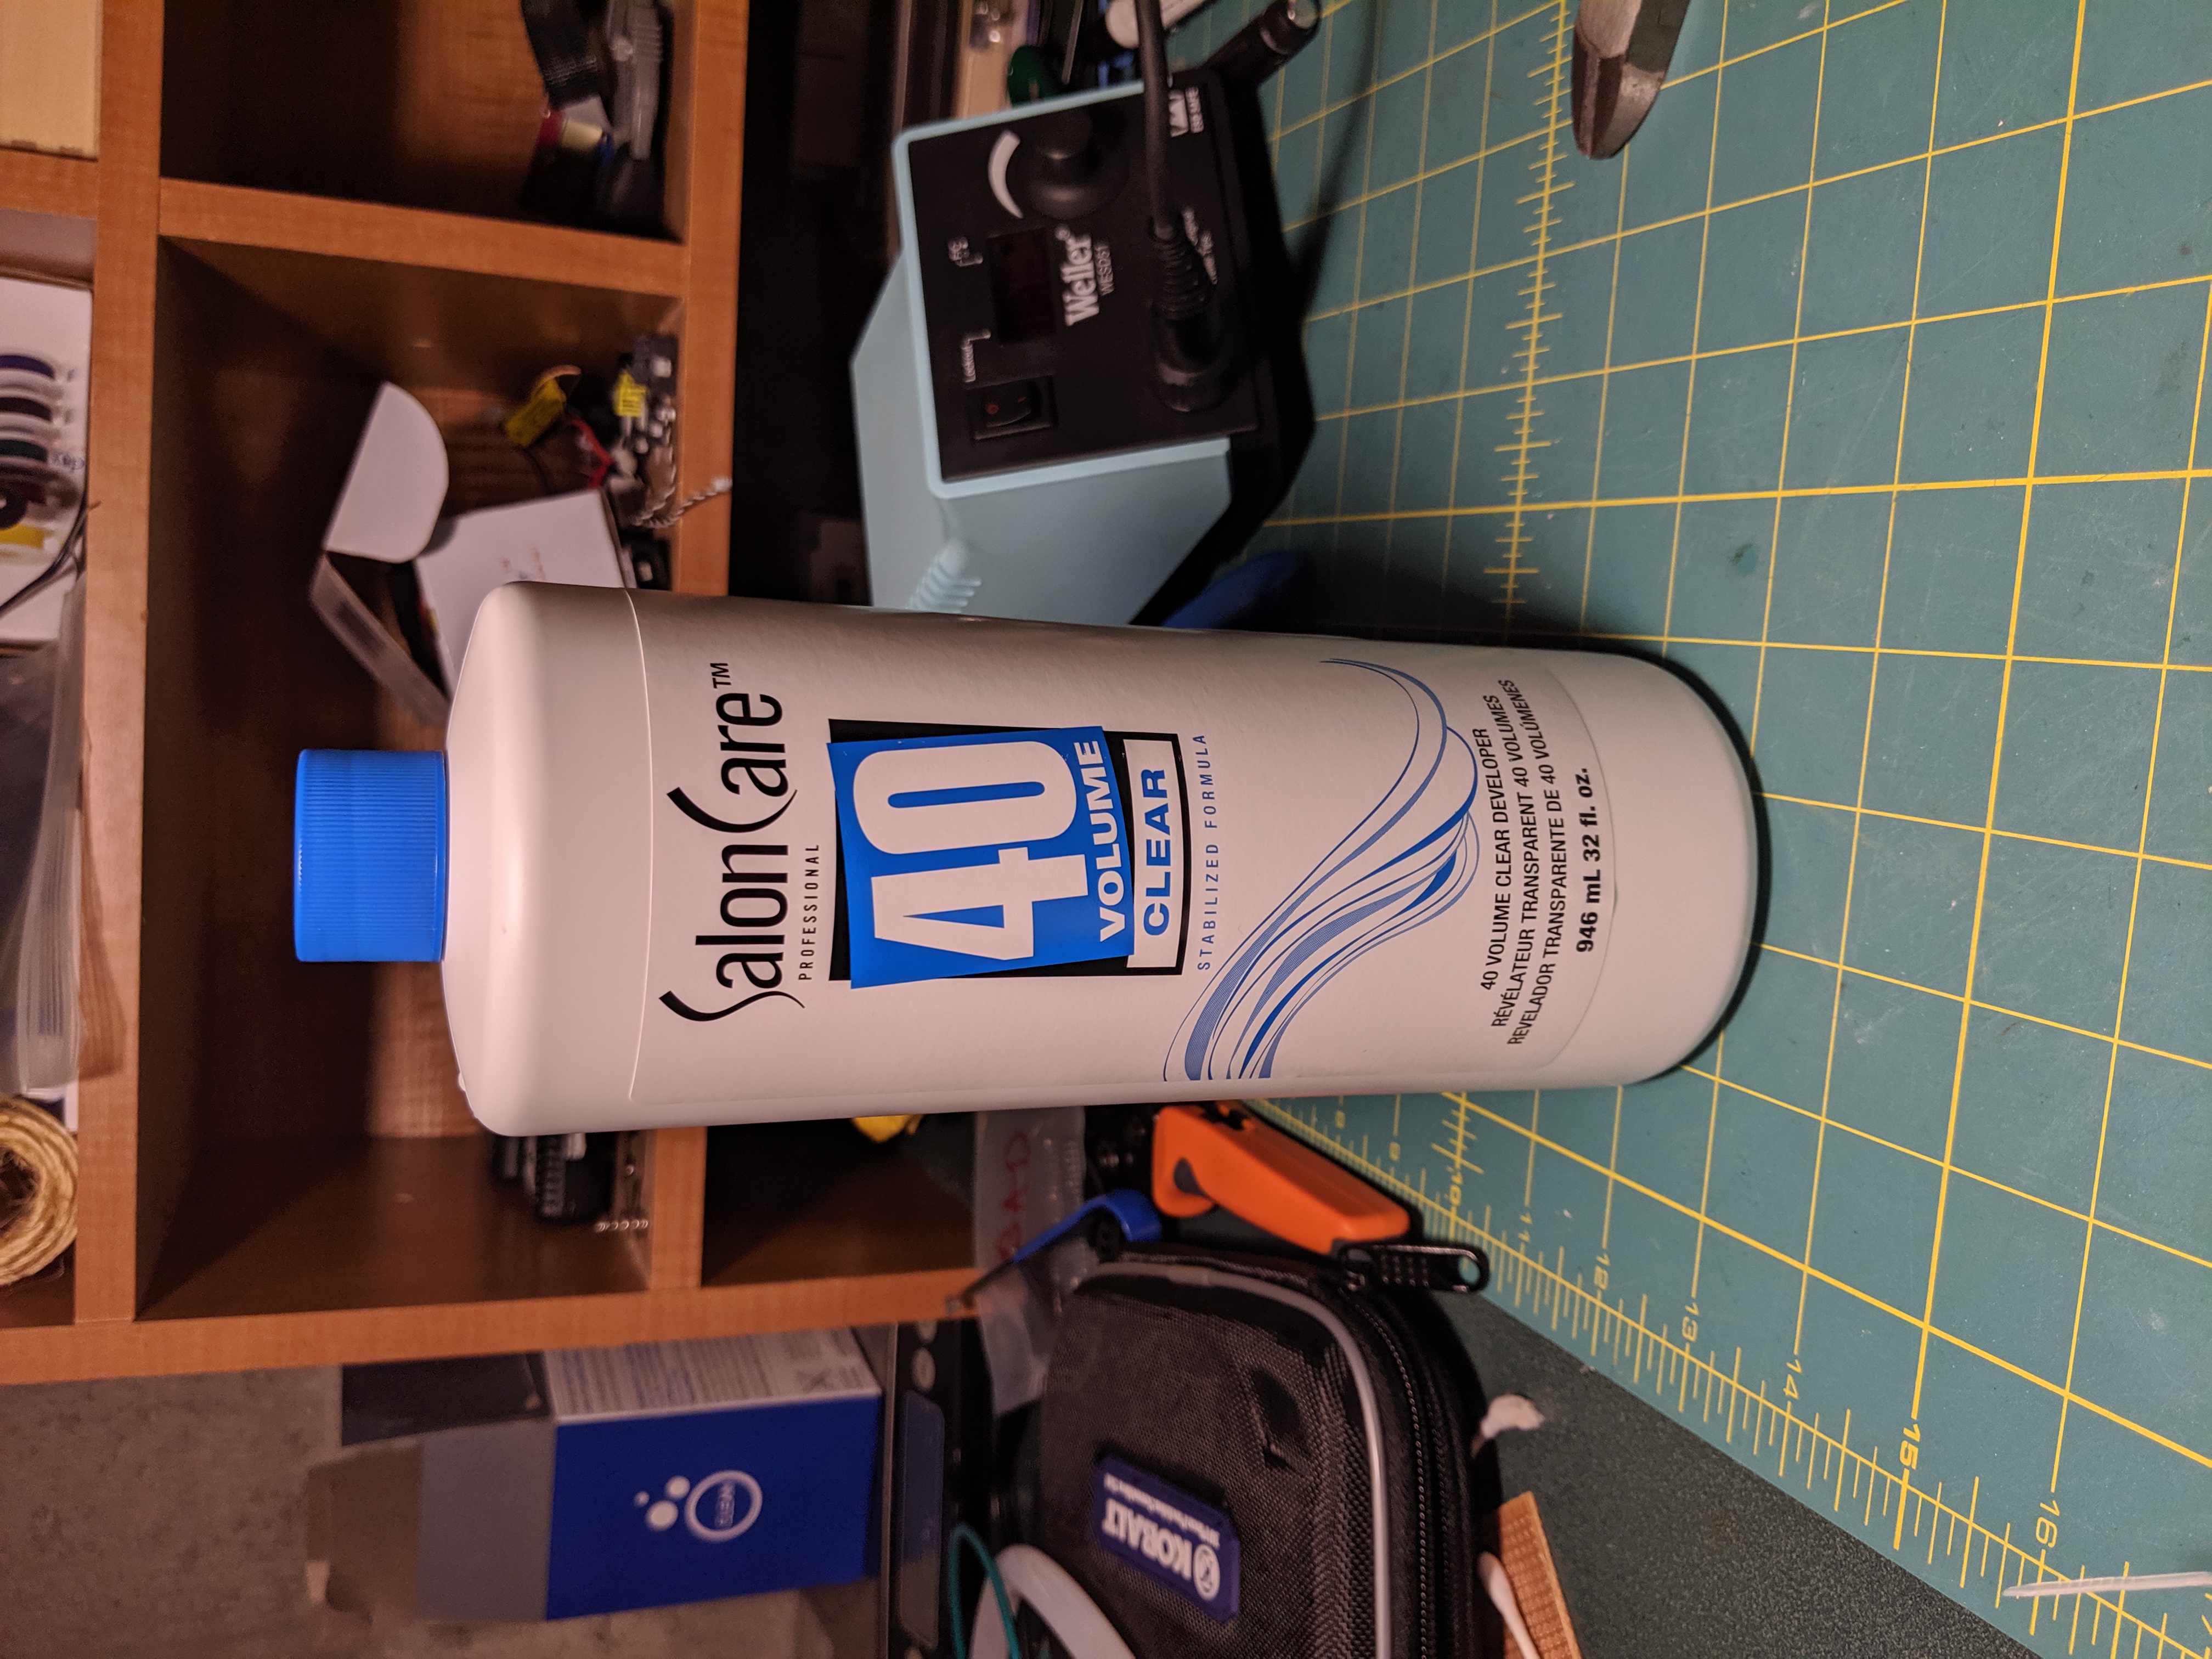
The hydrogen peroxide they sell in pharmacies, as an antiseptic, is only a 3% solution. For stronger stuff, you have to go to a beauty supply store. This is 12% hydrogen peroxide, some phosphoric acid as a stabilizer, and the rest is water:
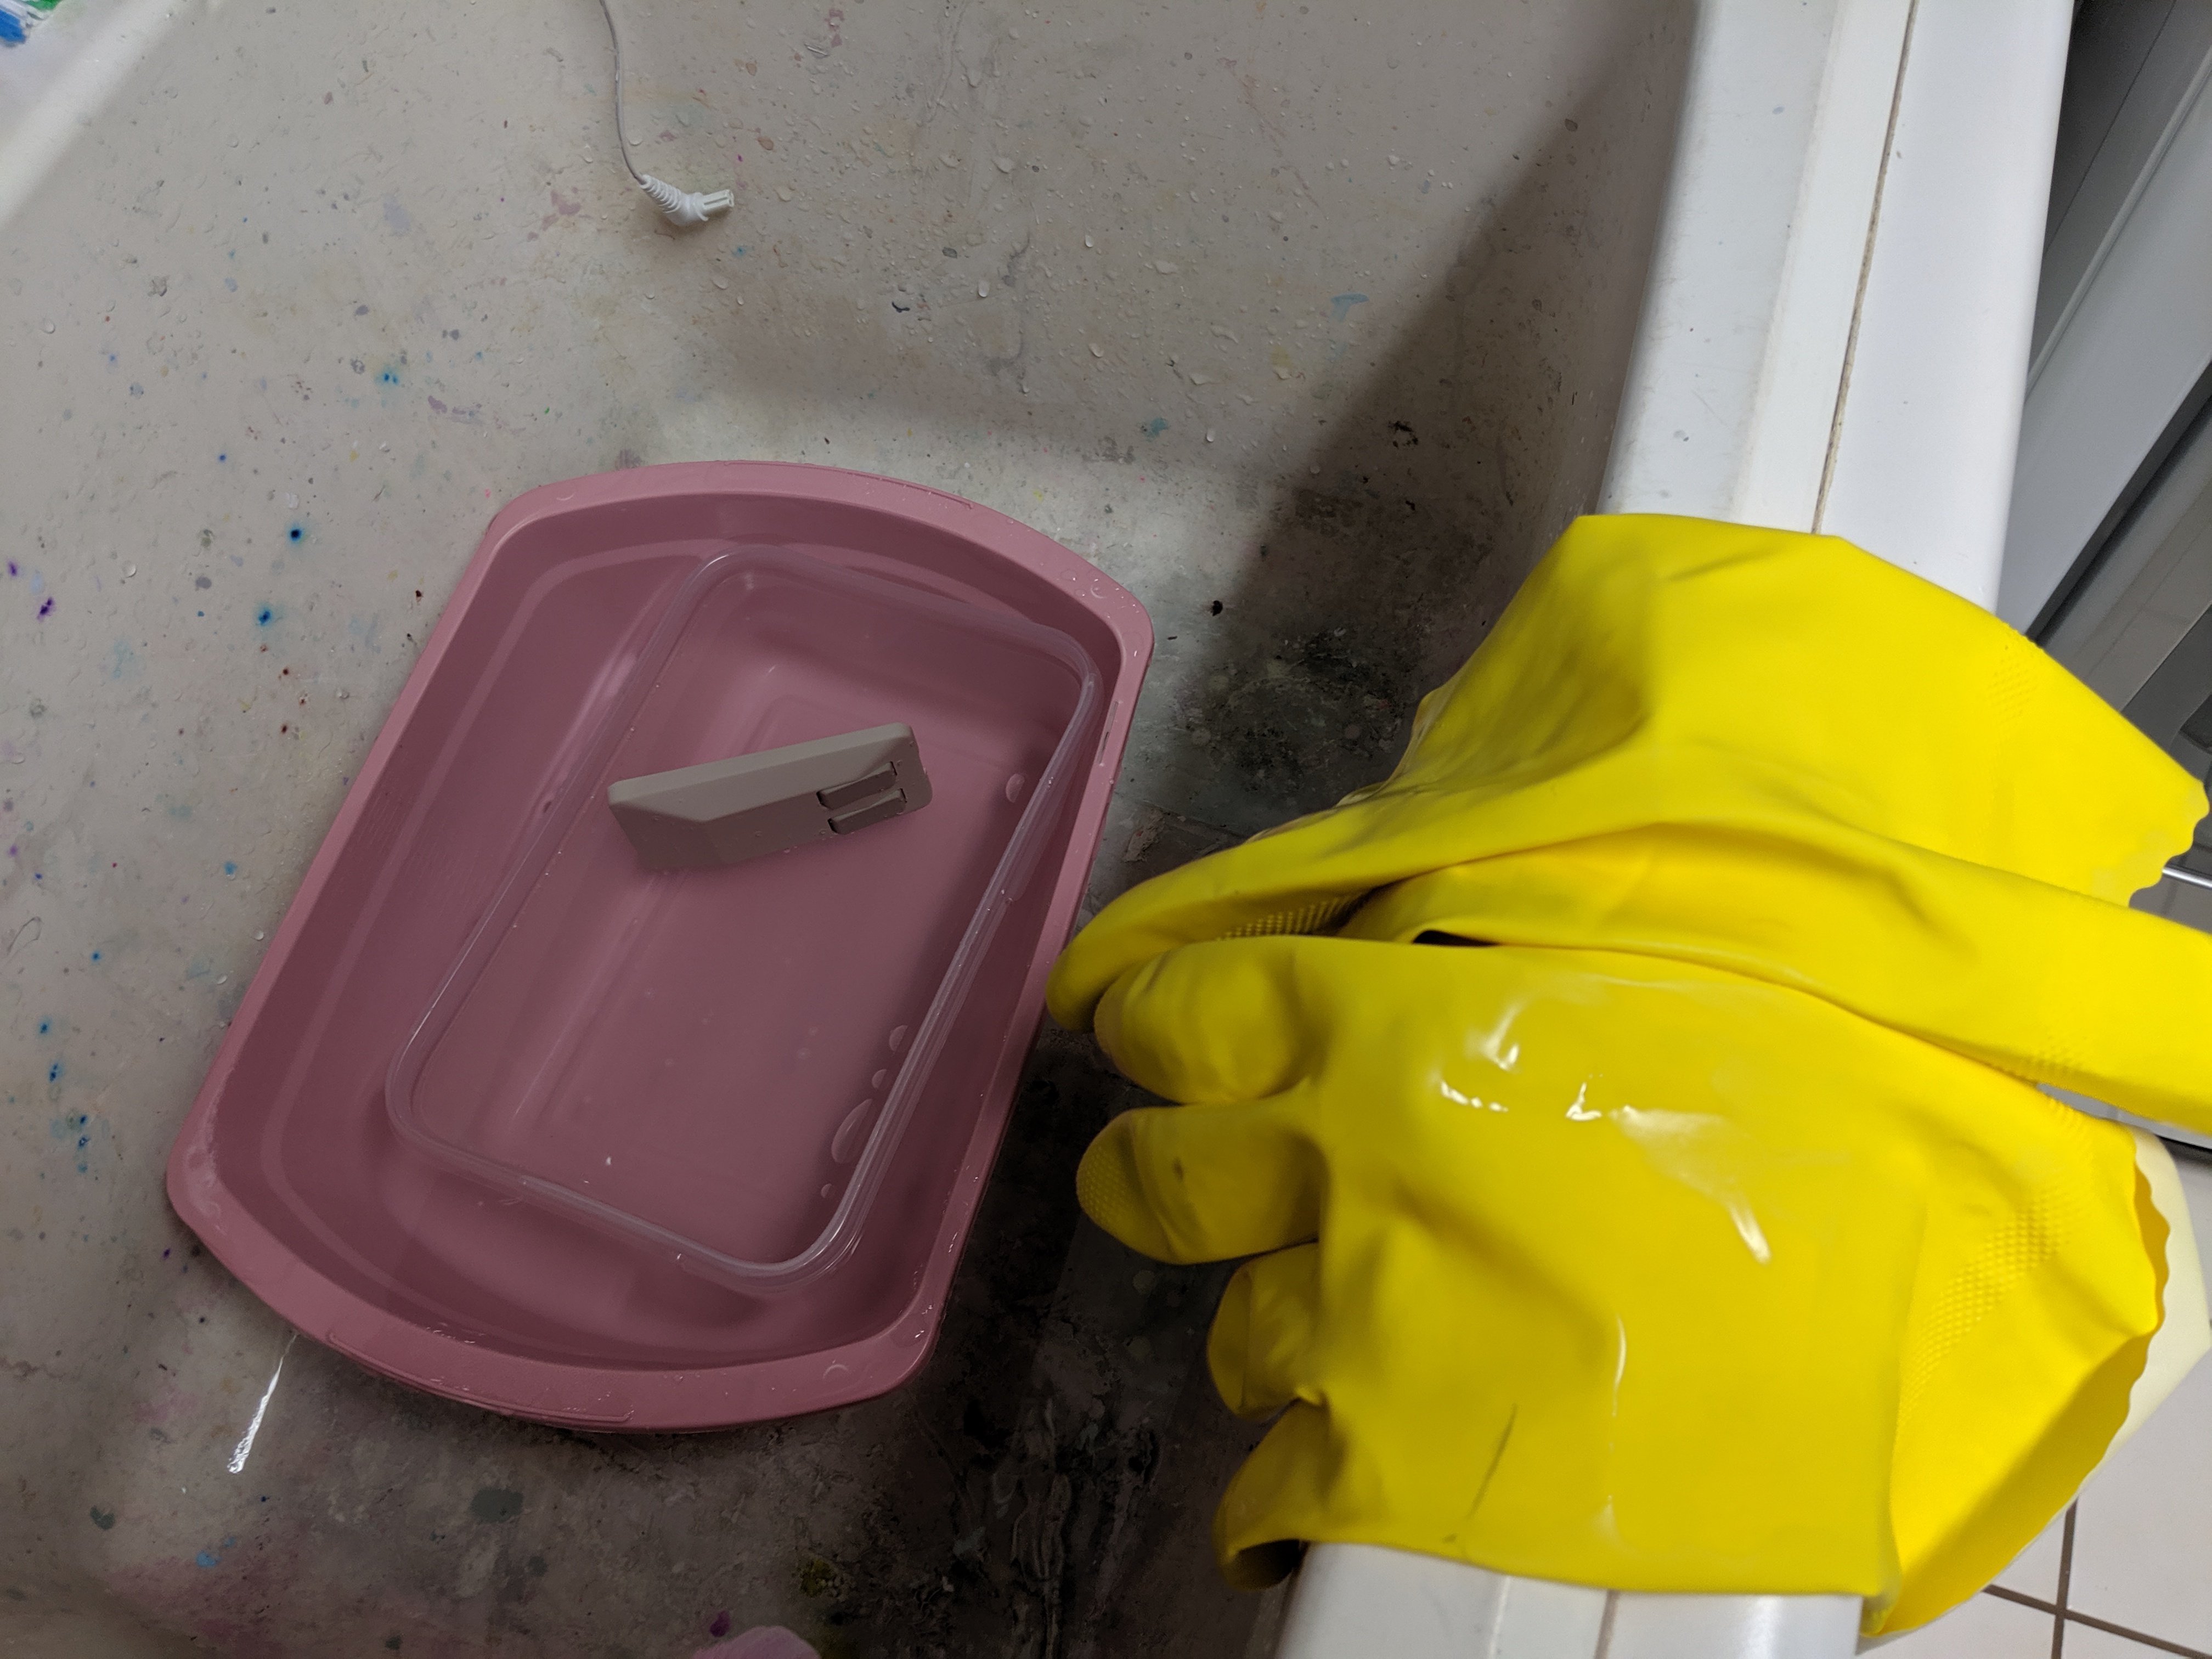
Hydrogen peroxide can burn skin and cause serious eye damage. To avoid spills and burns, my plan was to work with rubber gloves, wear eye protection, and use a container-within-a-container. I was careful enough that the liquid never made it out of the inner container, but I was glad to have the outer one as a backup.
There's no information on what exact concentration to use, so I poured in a third of the bottle and added warm water to raise the level to where I needed it. The whole thing is covered with cling wrap to retain heat (hydrogen peroxide reacts to both heat and UV exposure). I ended up pulling the cling wrap taut with tape because the wrinkles were casting uneven shadows on the inside.

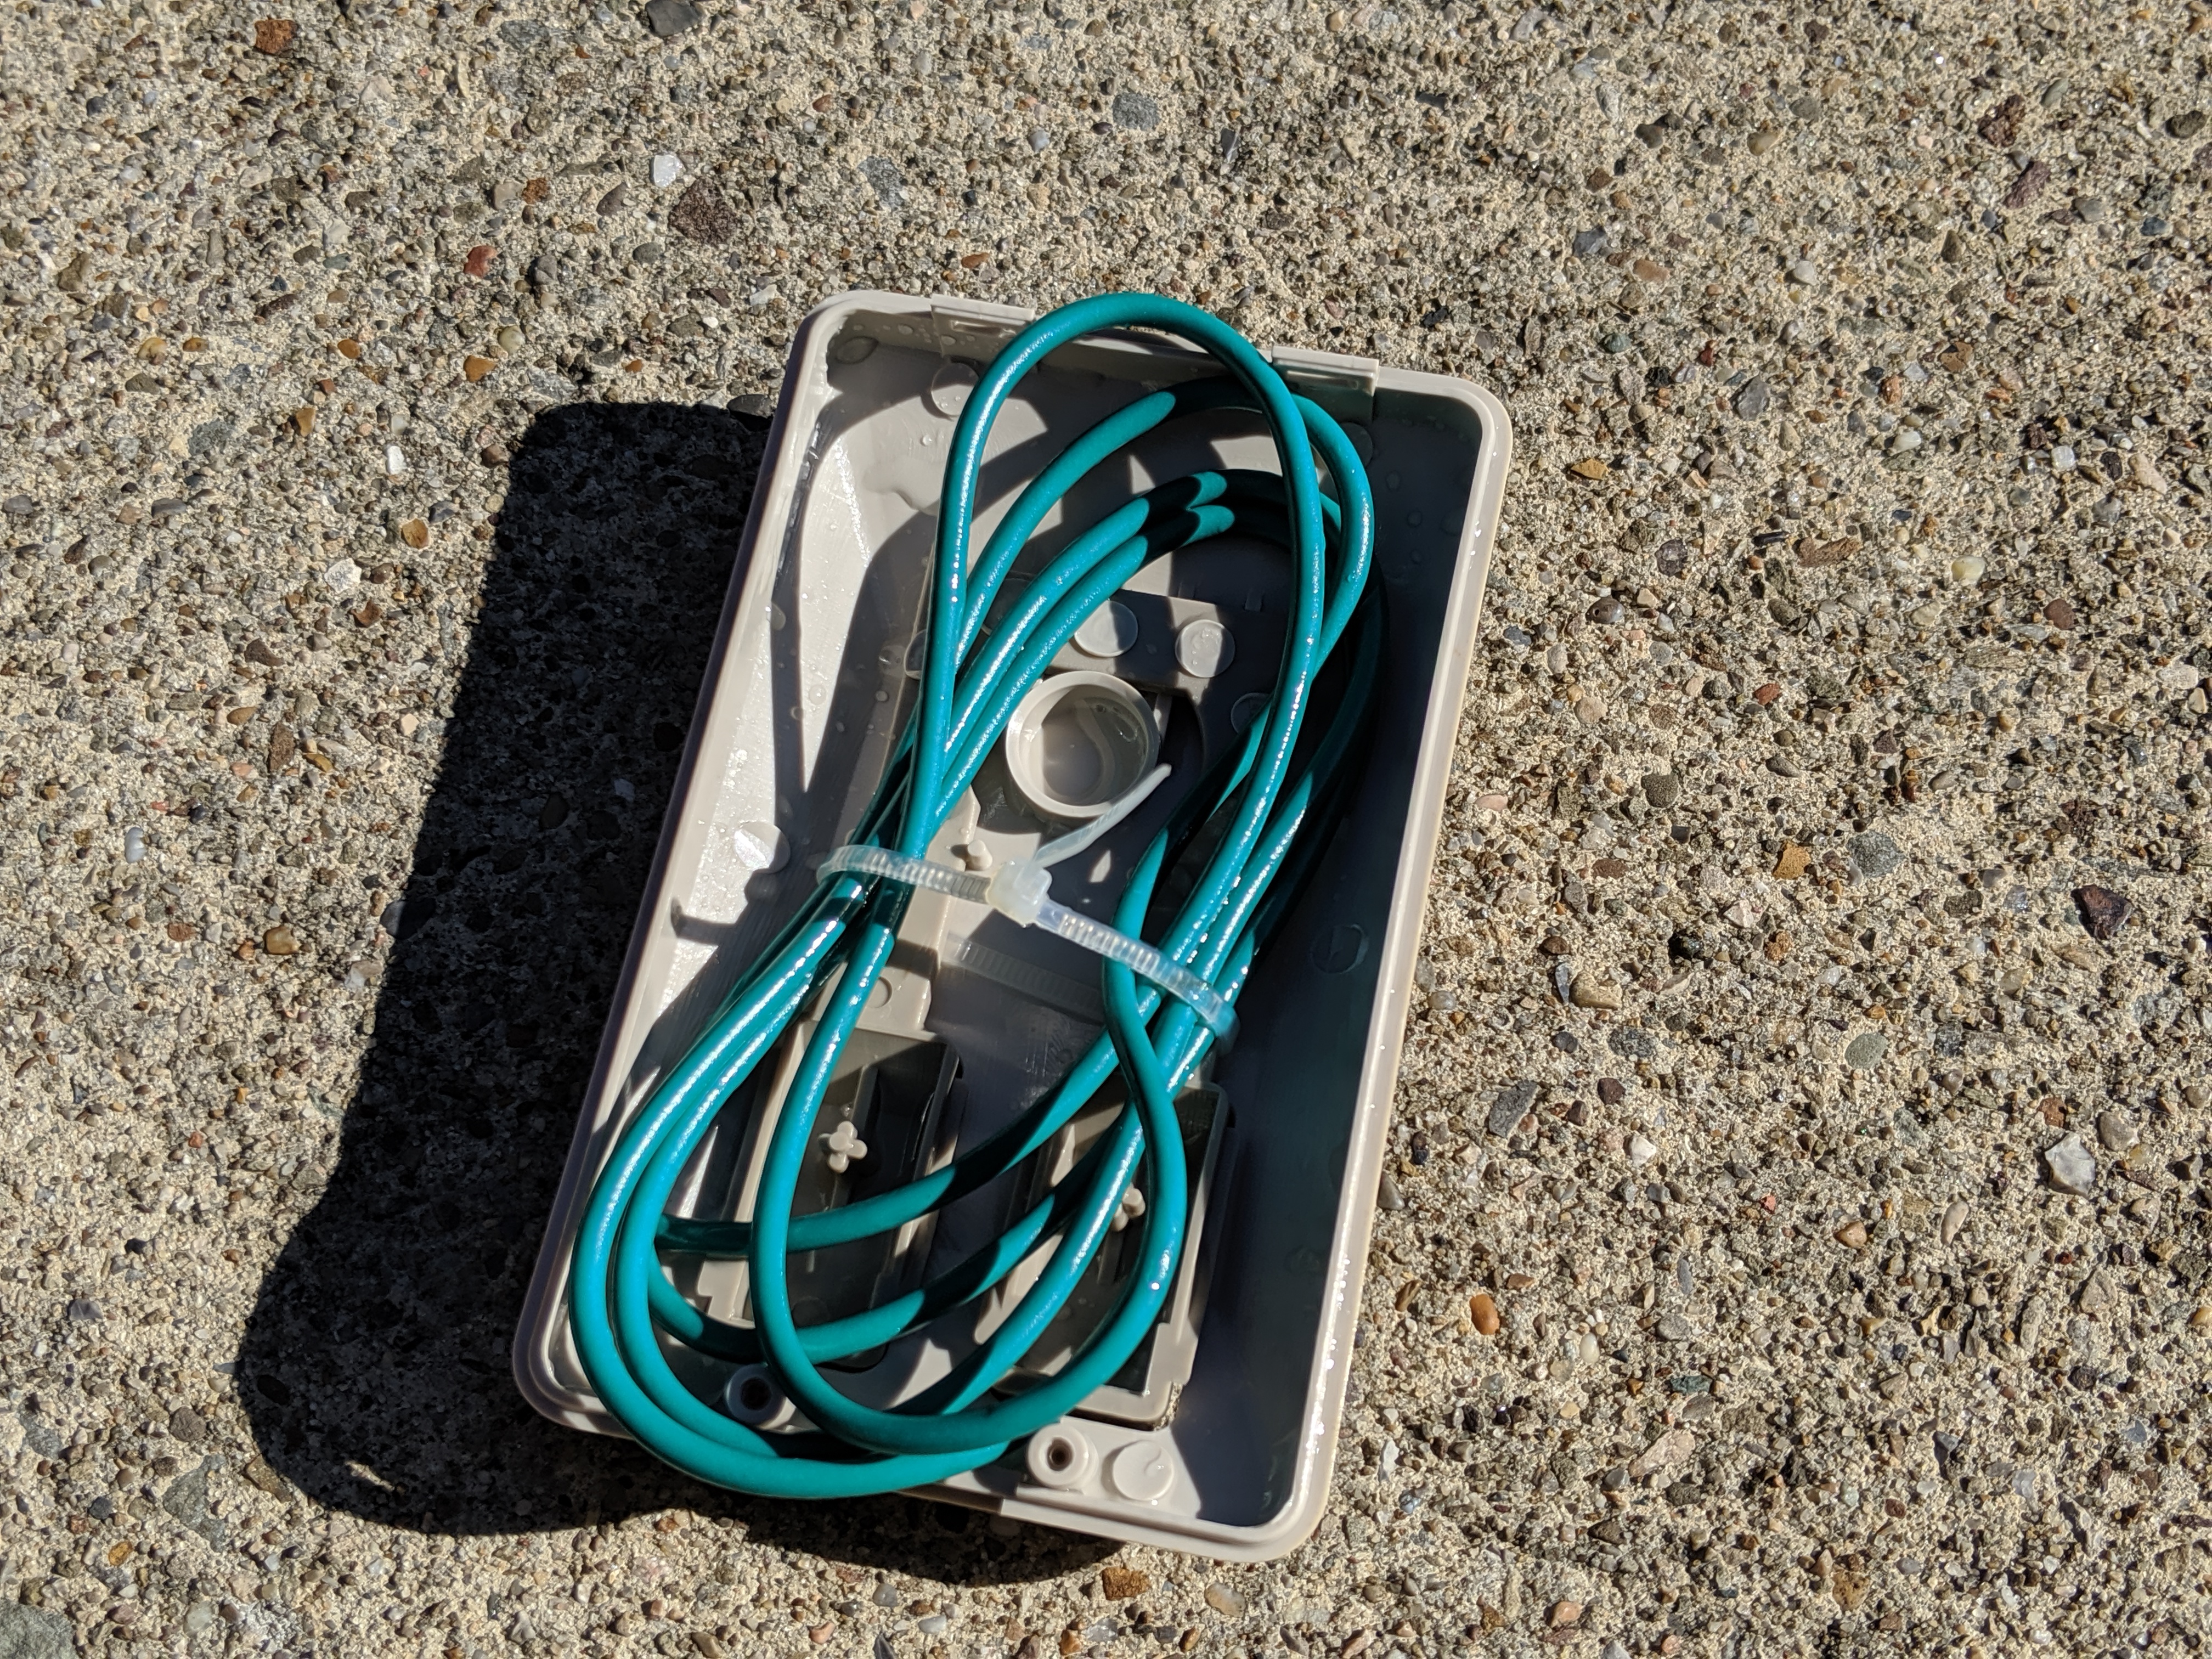
I also found that the plastic mouse panel floated at the surface of the liquid, which could result in uneven application. I zip-tied some heavy wires to the bottom, which worked well to keep it completely under the surface.
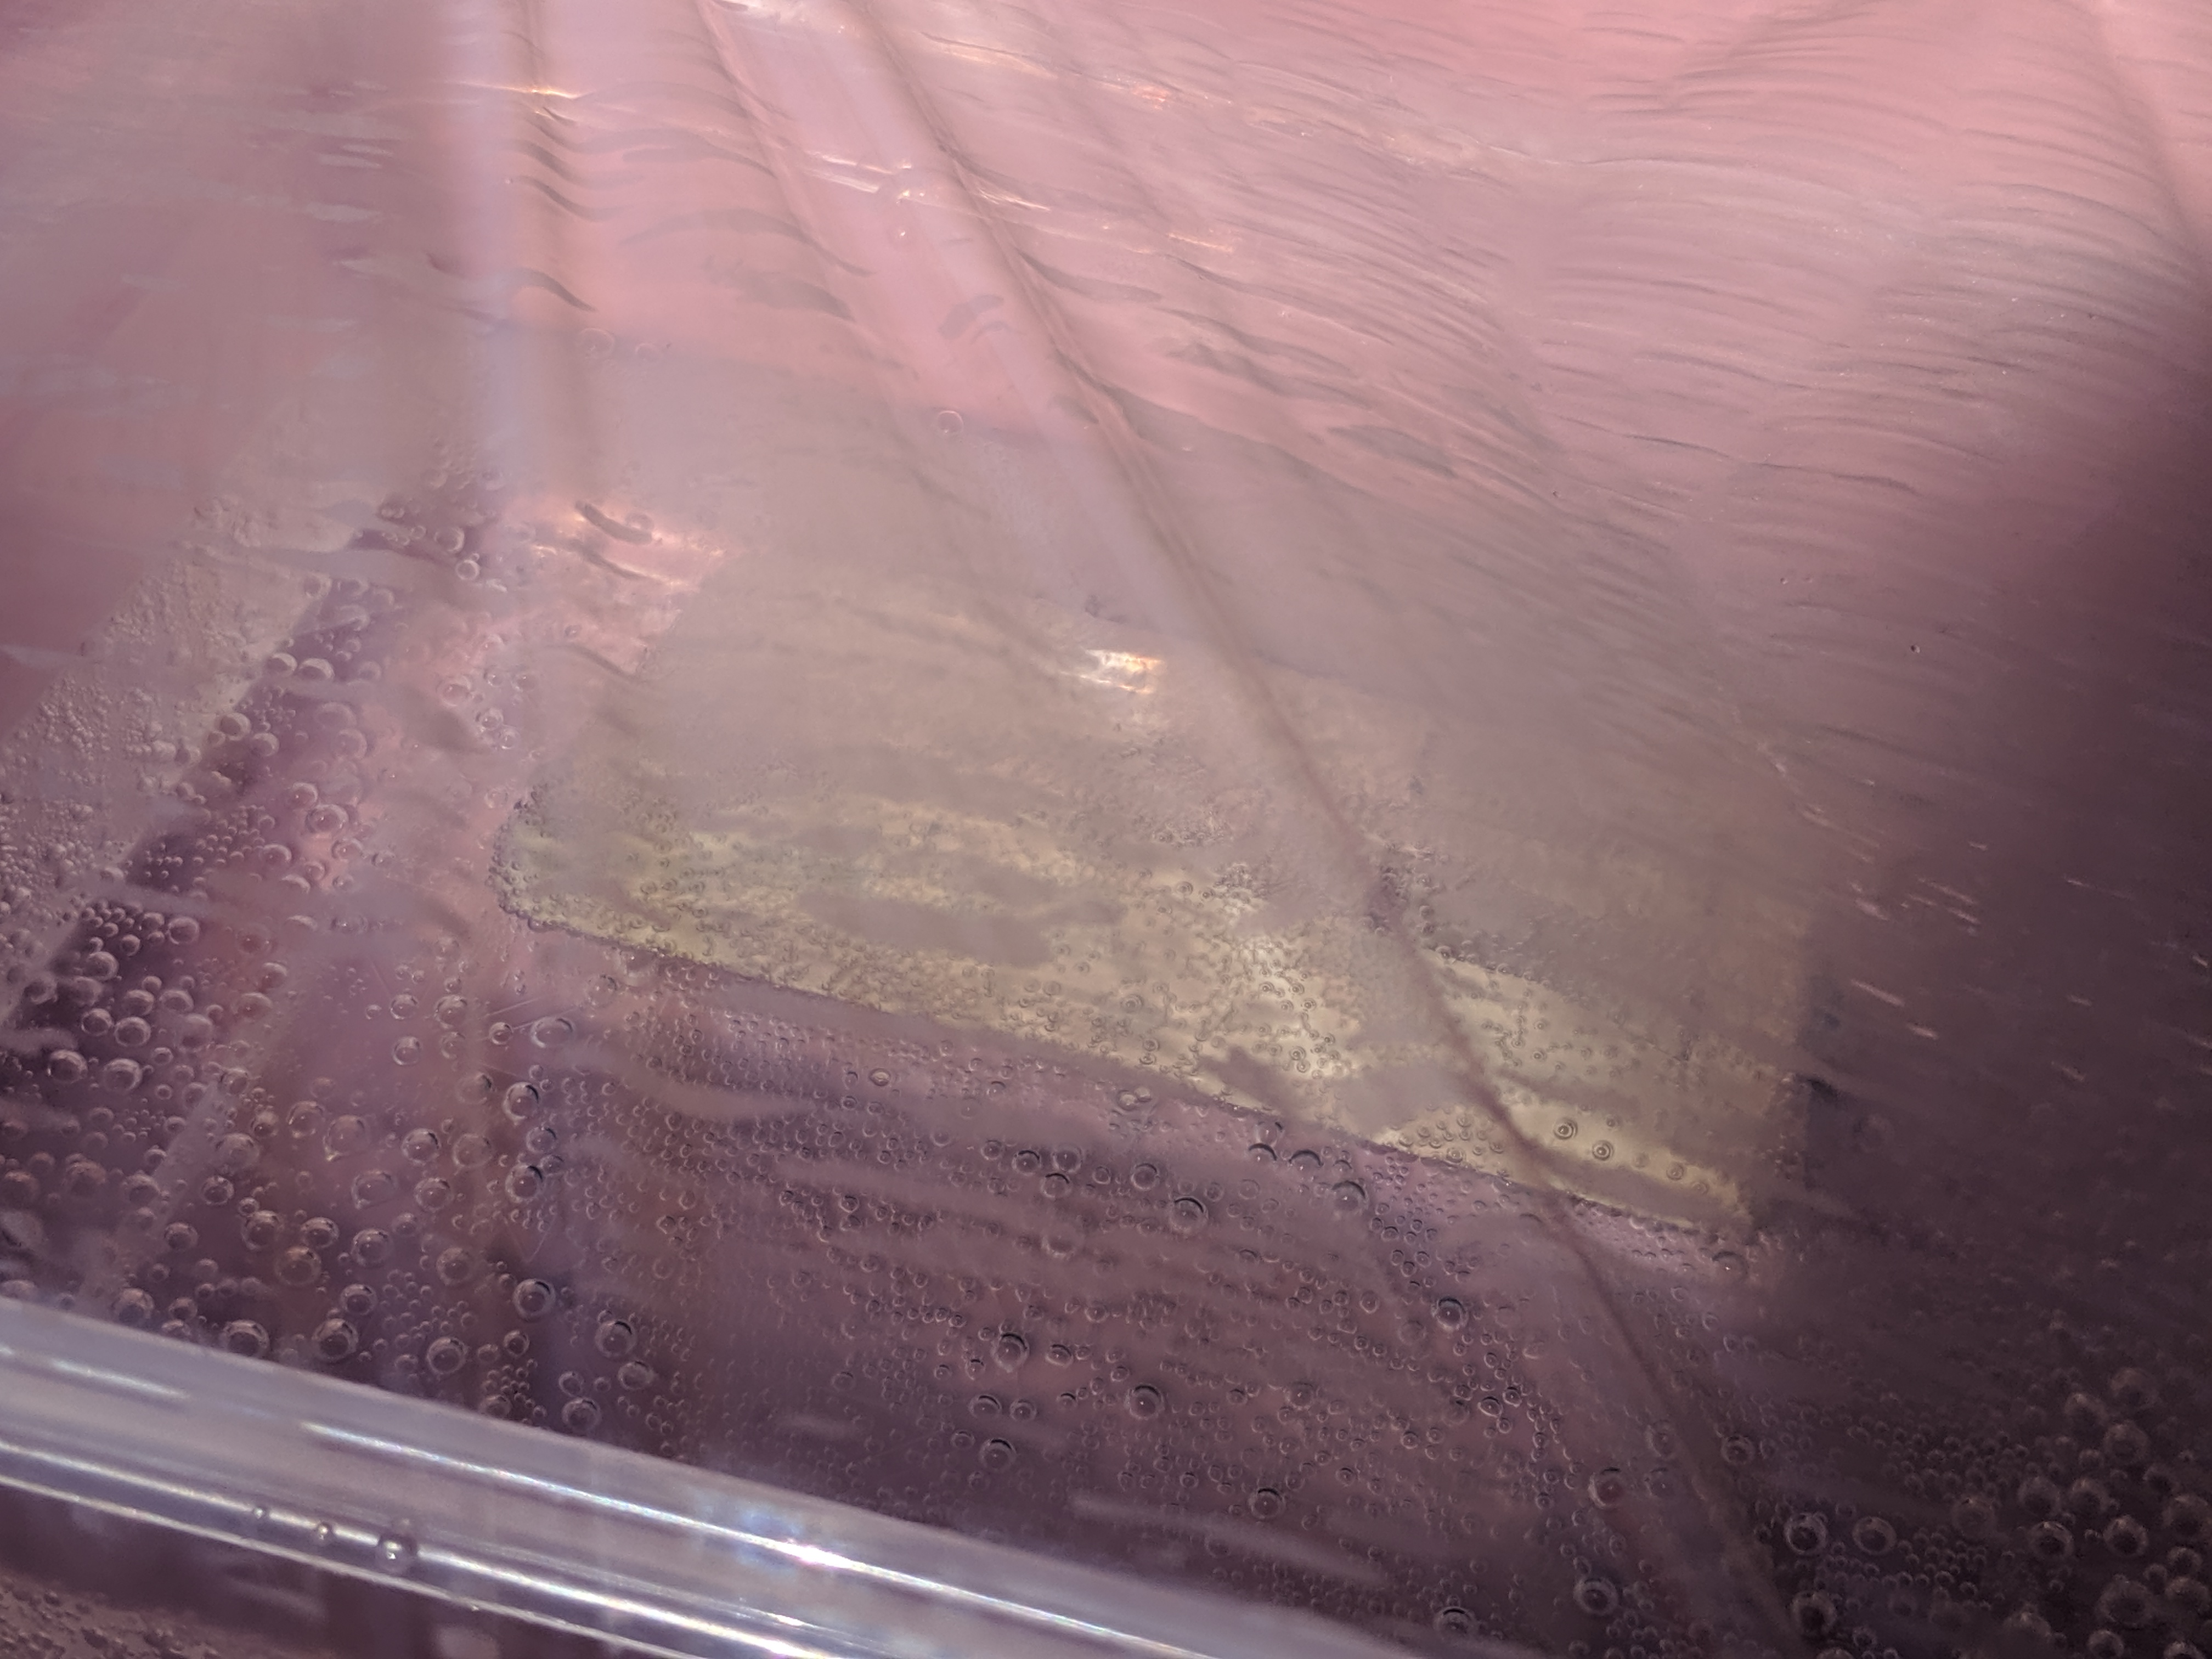
Here you can see the oxygen bubbles forming on the surface as a result of the peroxide reaction:

Every twenty minutes or so, I'd use rubber gloves to rotate the mouse for even sun exposure, and to keep it out of the shadows.
Every couple hours I'd take it out, rinse it, and compare its color to the reference mouse. After four or five hours total, it was looking pretty good, so I took it out and rinsed everything thoroughly.
Here's the final color, along with the reference. It's still very slightly darker than the reference, but the color is even and smooth. I've read that overdoing it can damage the plastic, so I called it done at this point.
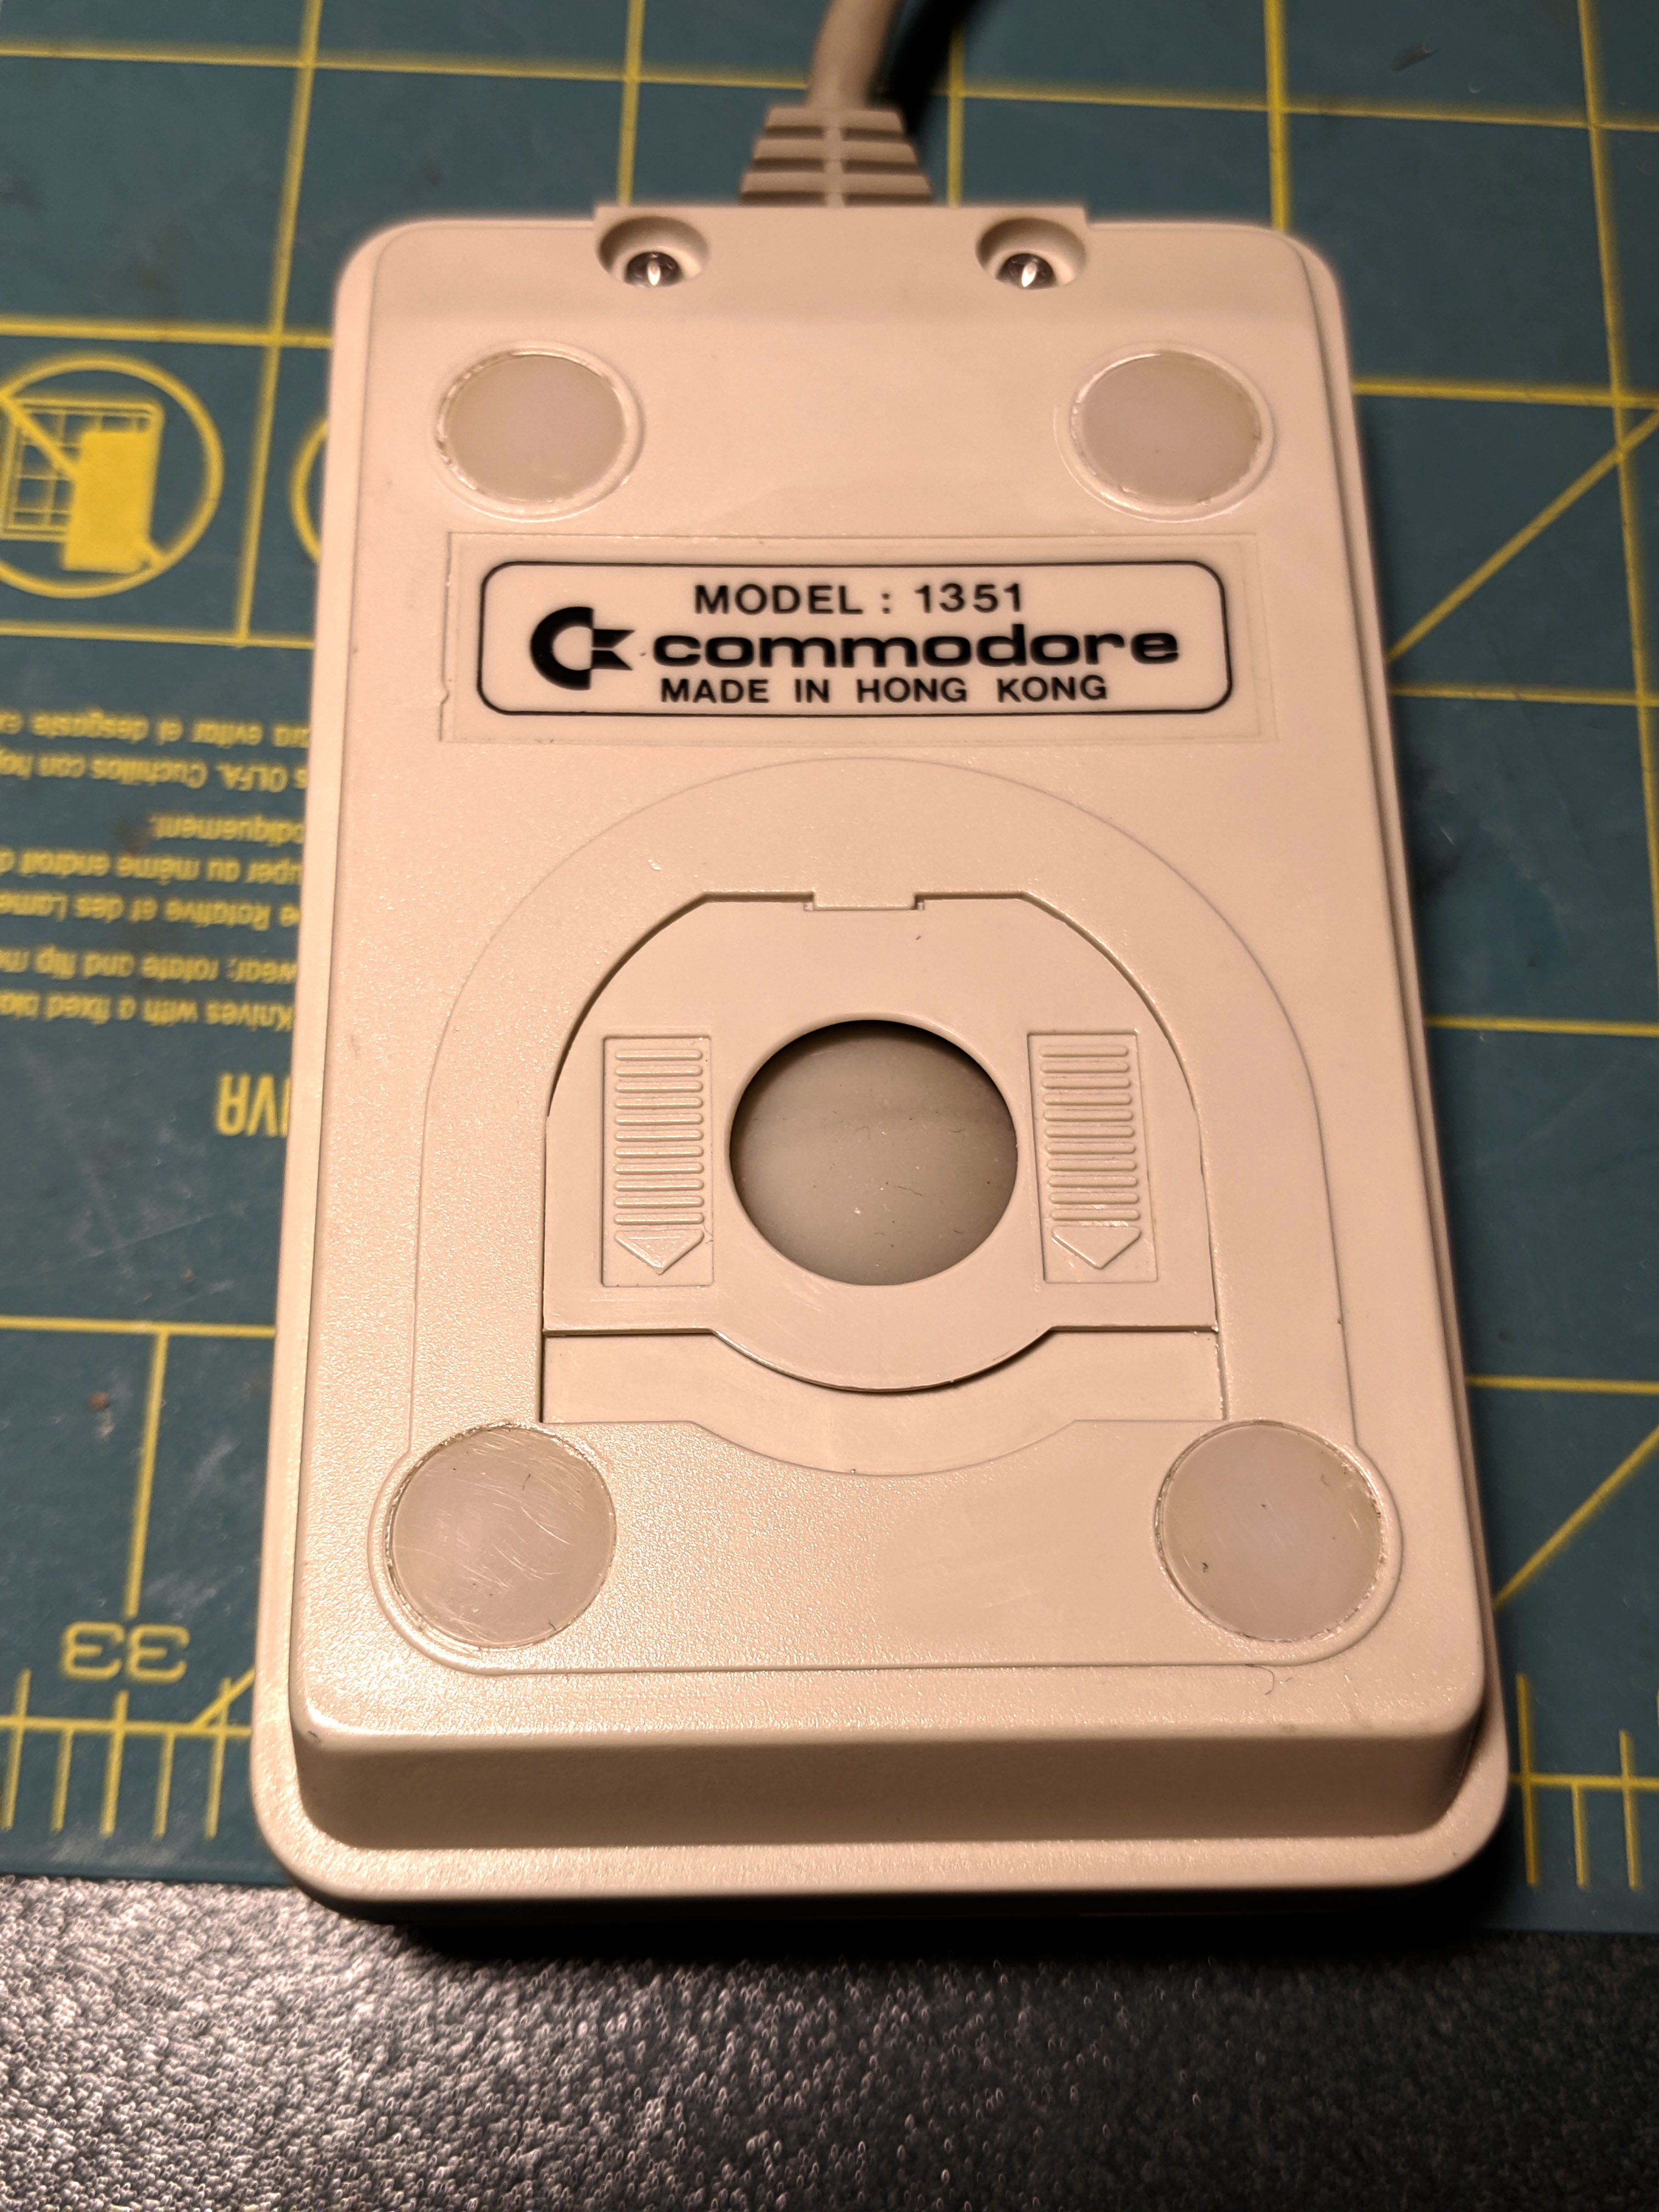
Meanwhile, the bottom of the mouse had problems of its own. The feet that let it glide smoothly had shifted, and the adhesive looked disgusting. This seems to be pretty common on old mice. Every 1351 I've seen has at least one crooked foot, but this one was particularly bad.

Turns out those gliding-feet are called "skates". Who knew? You can find replacement skates on amazon for various mouse models. They seem to be primarily marketed to gamers. Unfortunately, I couldn't find anything that at all resembled the ones on the ancient 1351, so I ended up buying the ones below. They're very much overkill for this old mouse but I liked that the edges were rounded-over for even smoother movement.

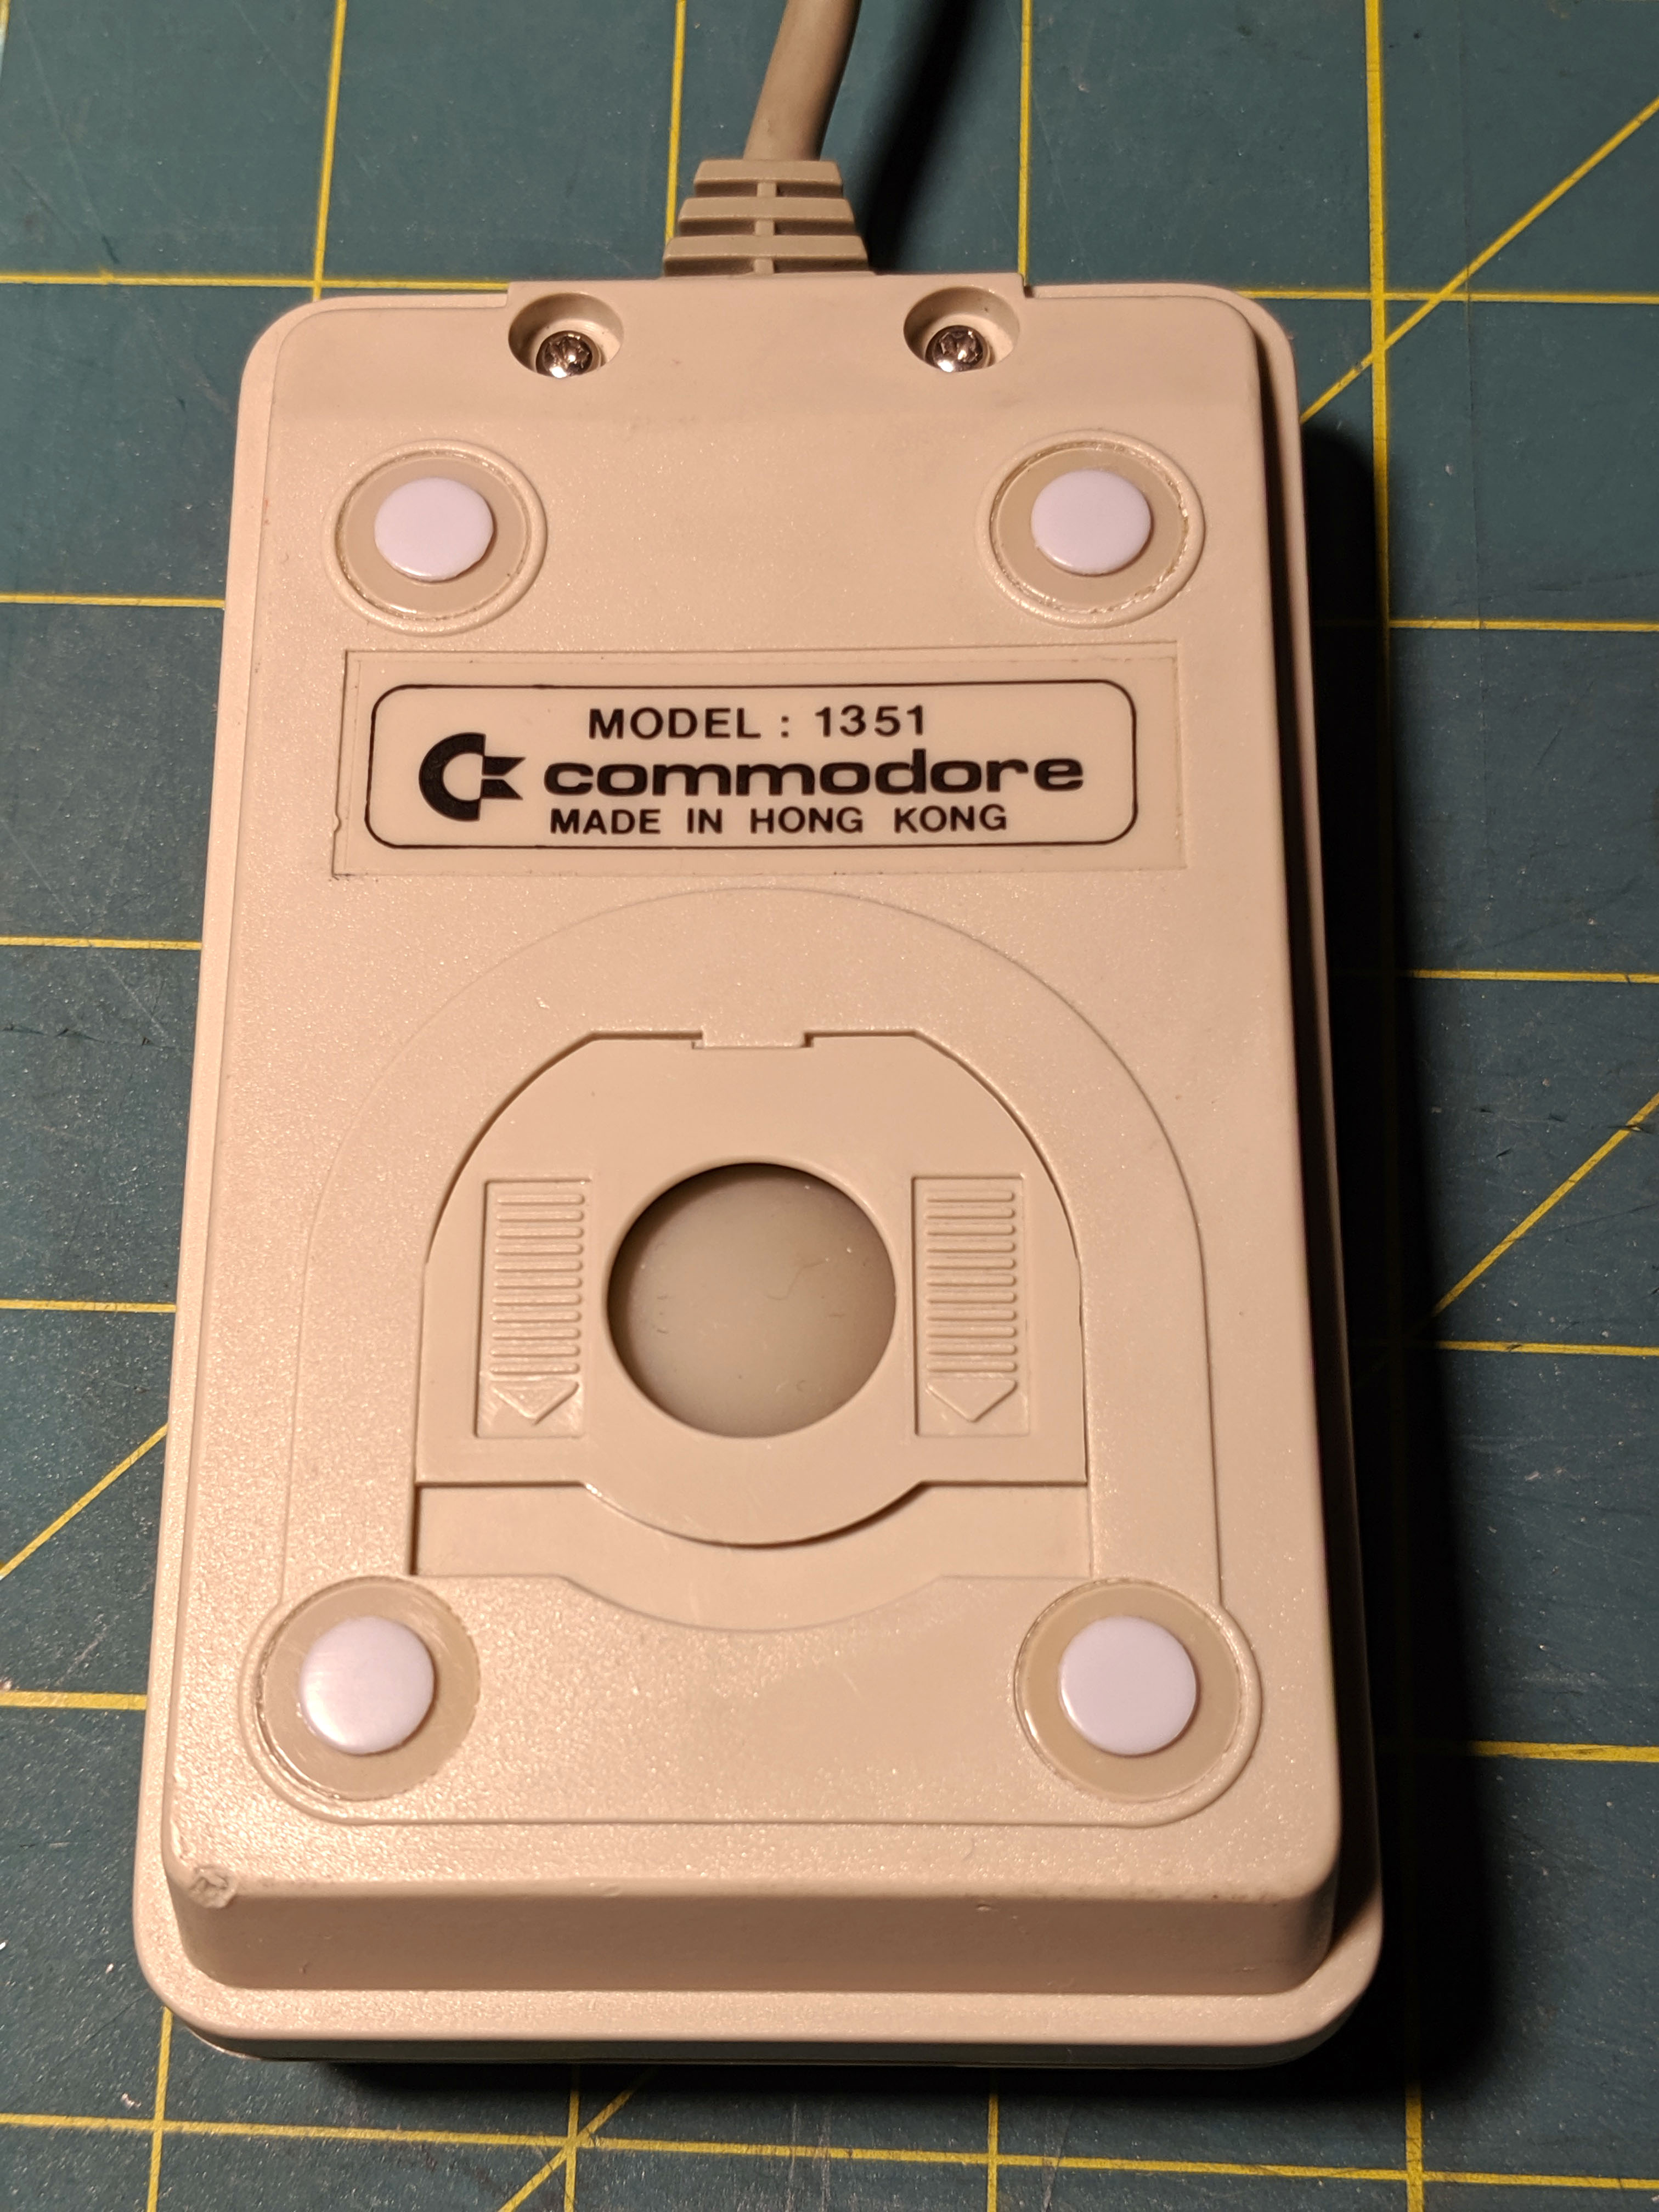
I peeled off the old, crusty skates and used q-tips with ispopropyl alcohol to clean off the old adhesive. It was surprisingly stubborn, and I had to work carefully to avoid getting isopropyl on the central decal. Twenty minutes later the bottom was clean:
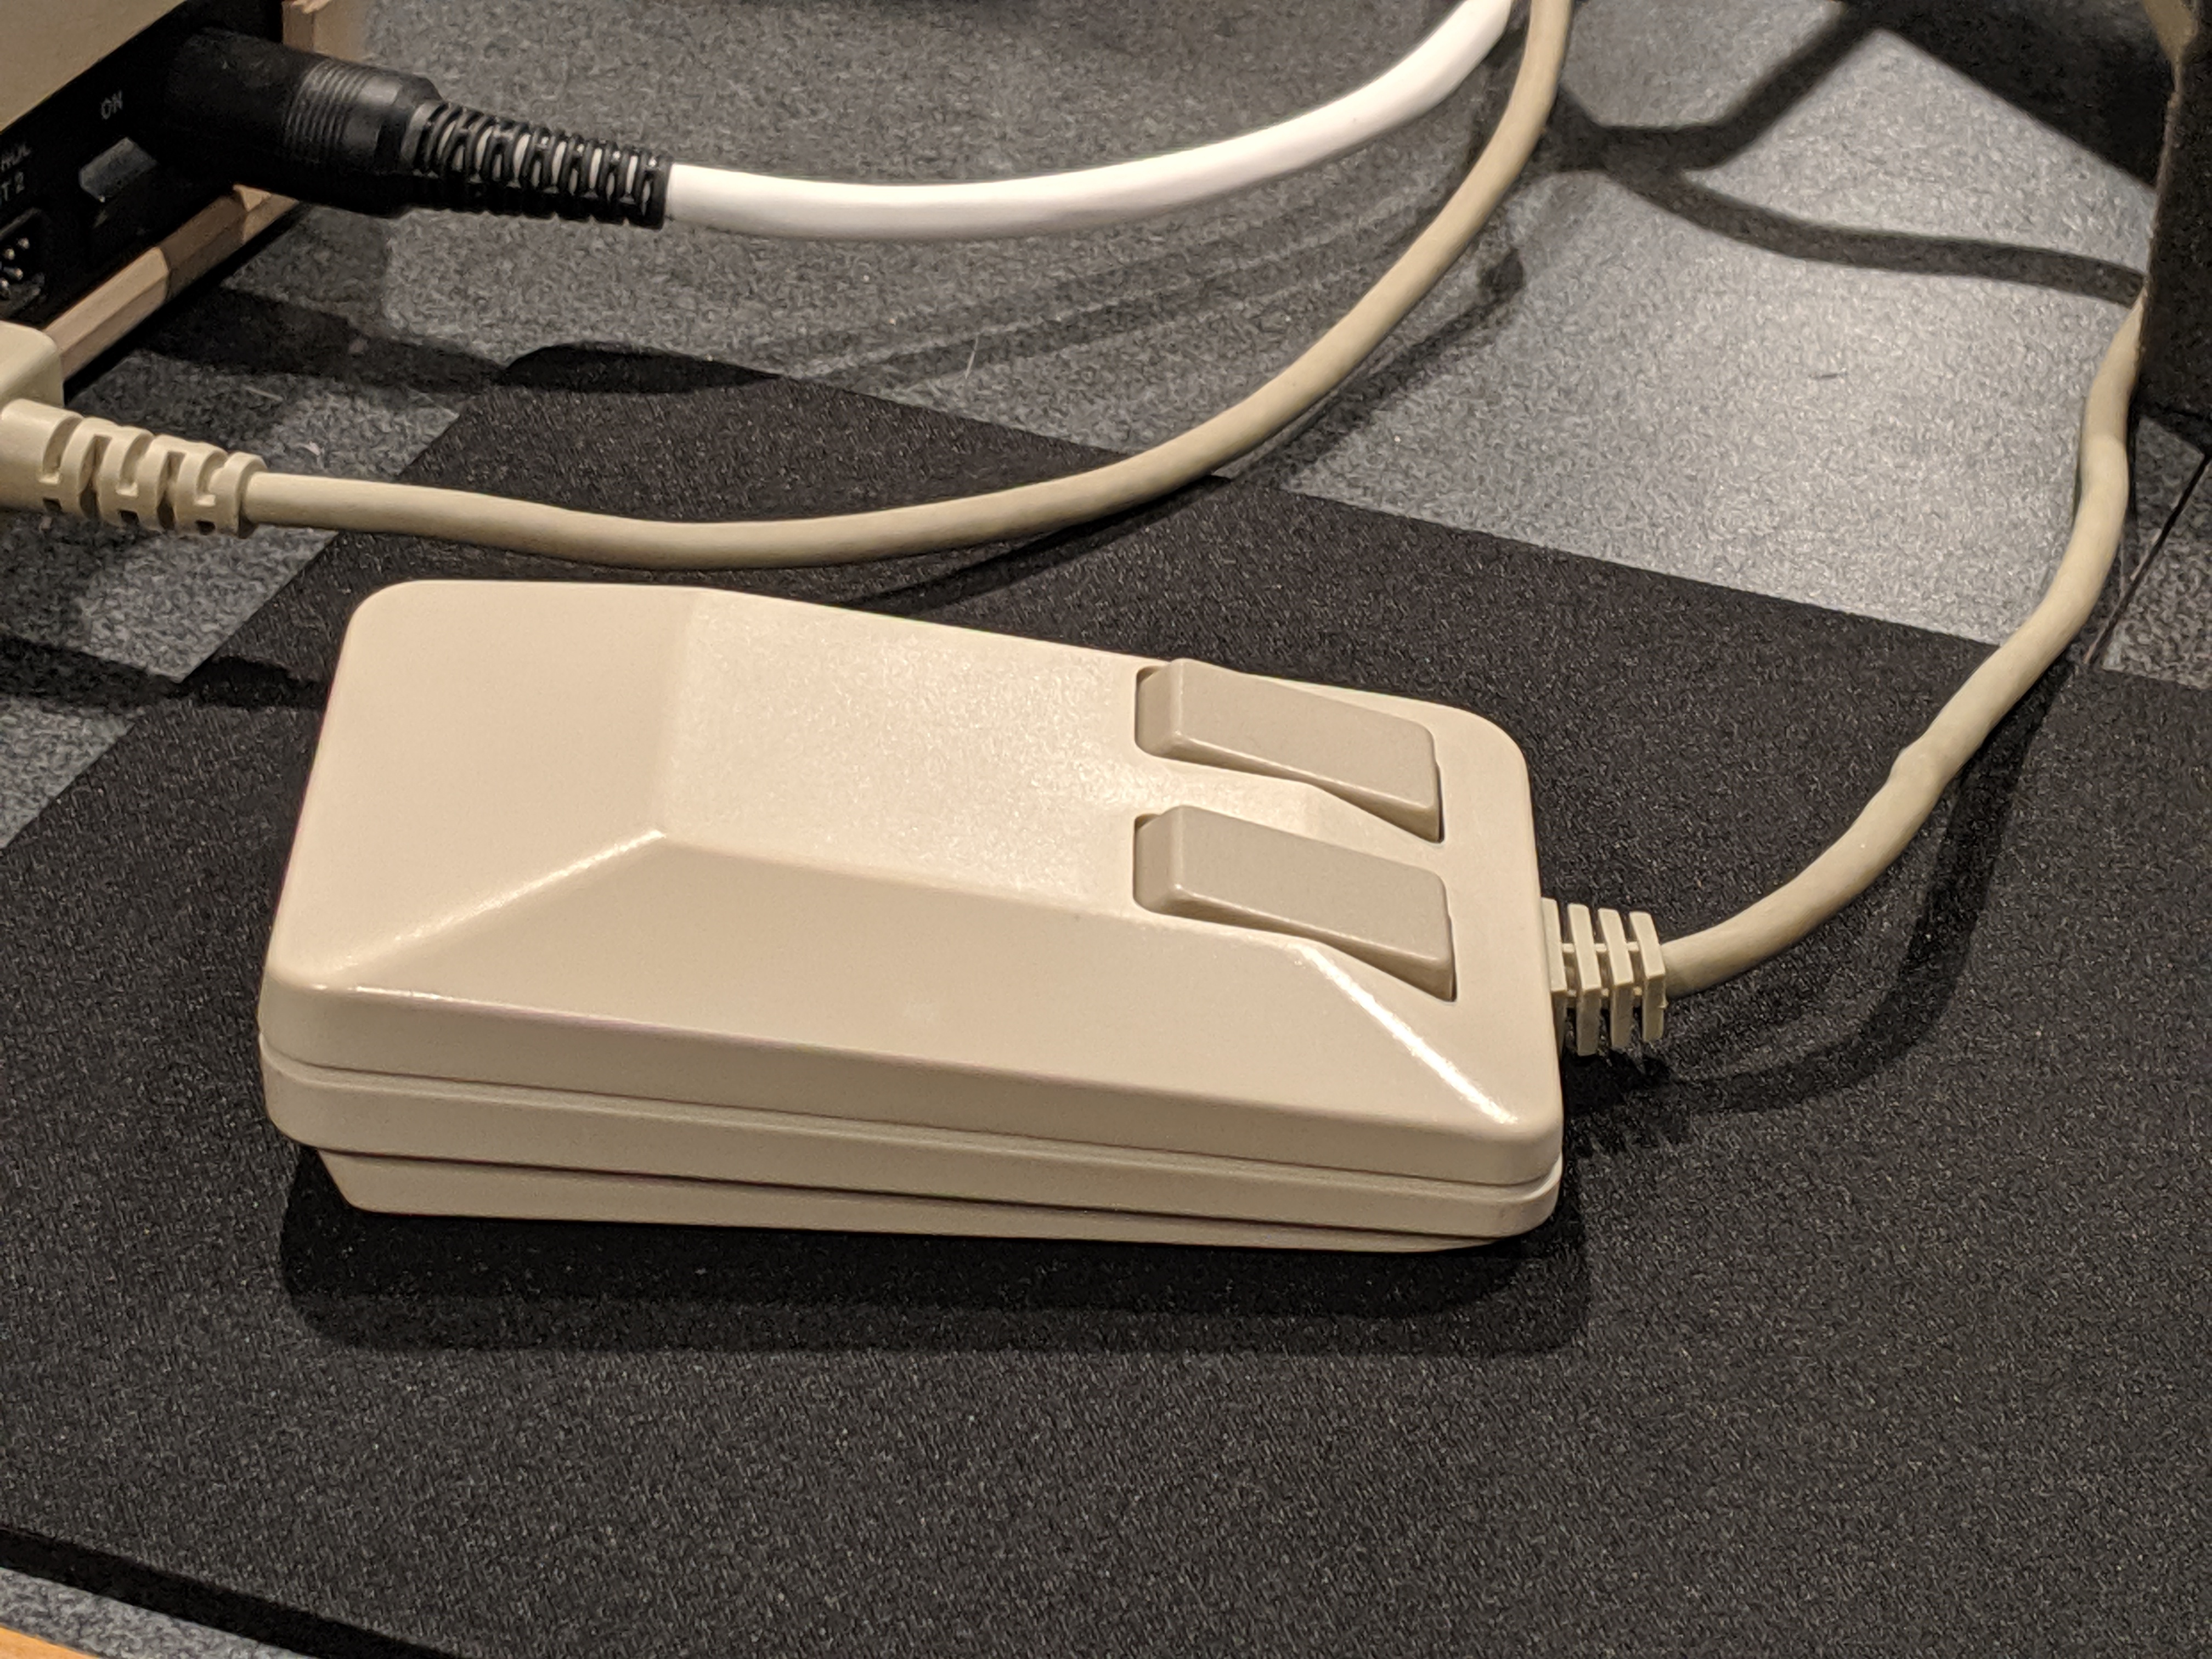
Here it is with the new skates installed. I'd love to find some that look more like the originals, but in the meantime, these will do.
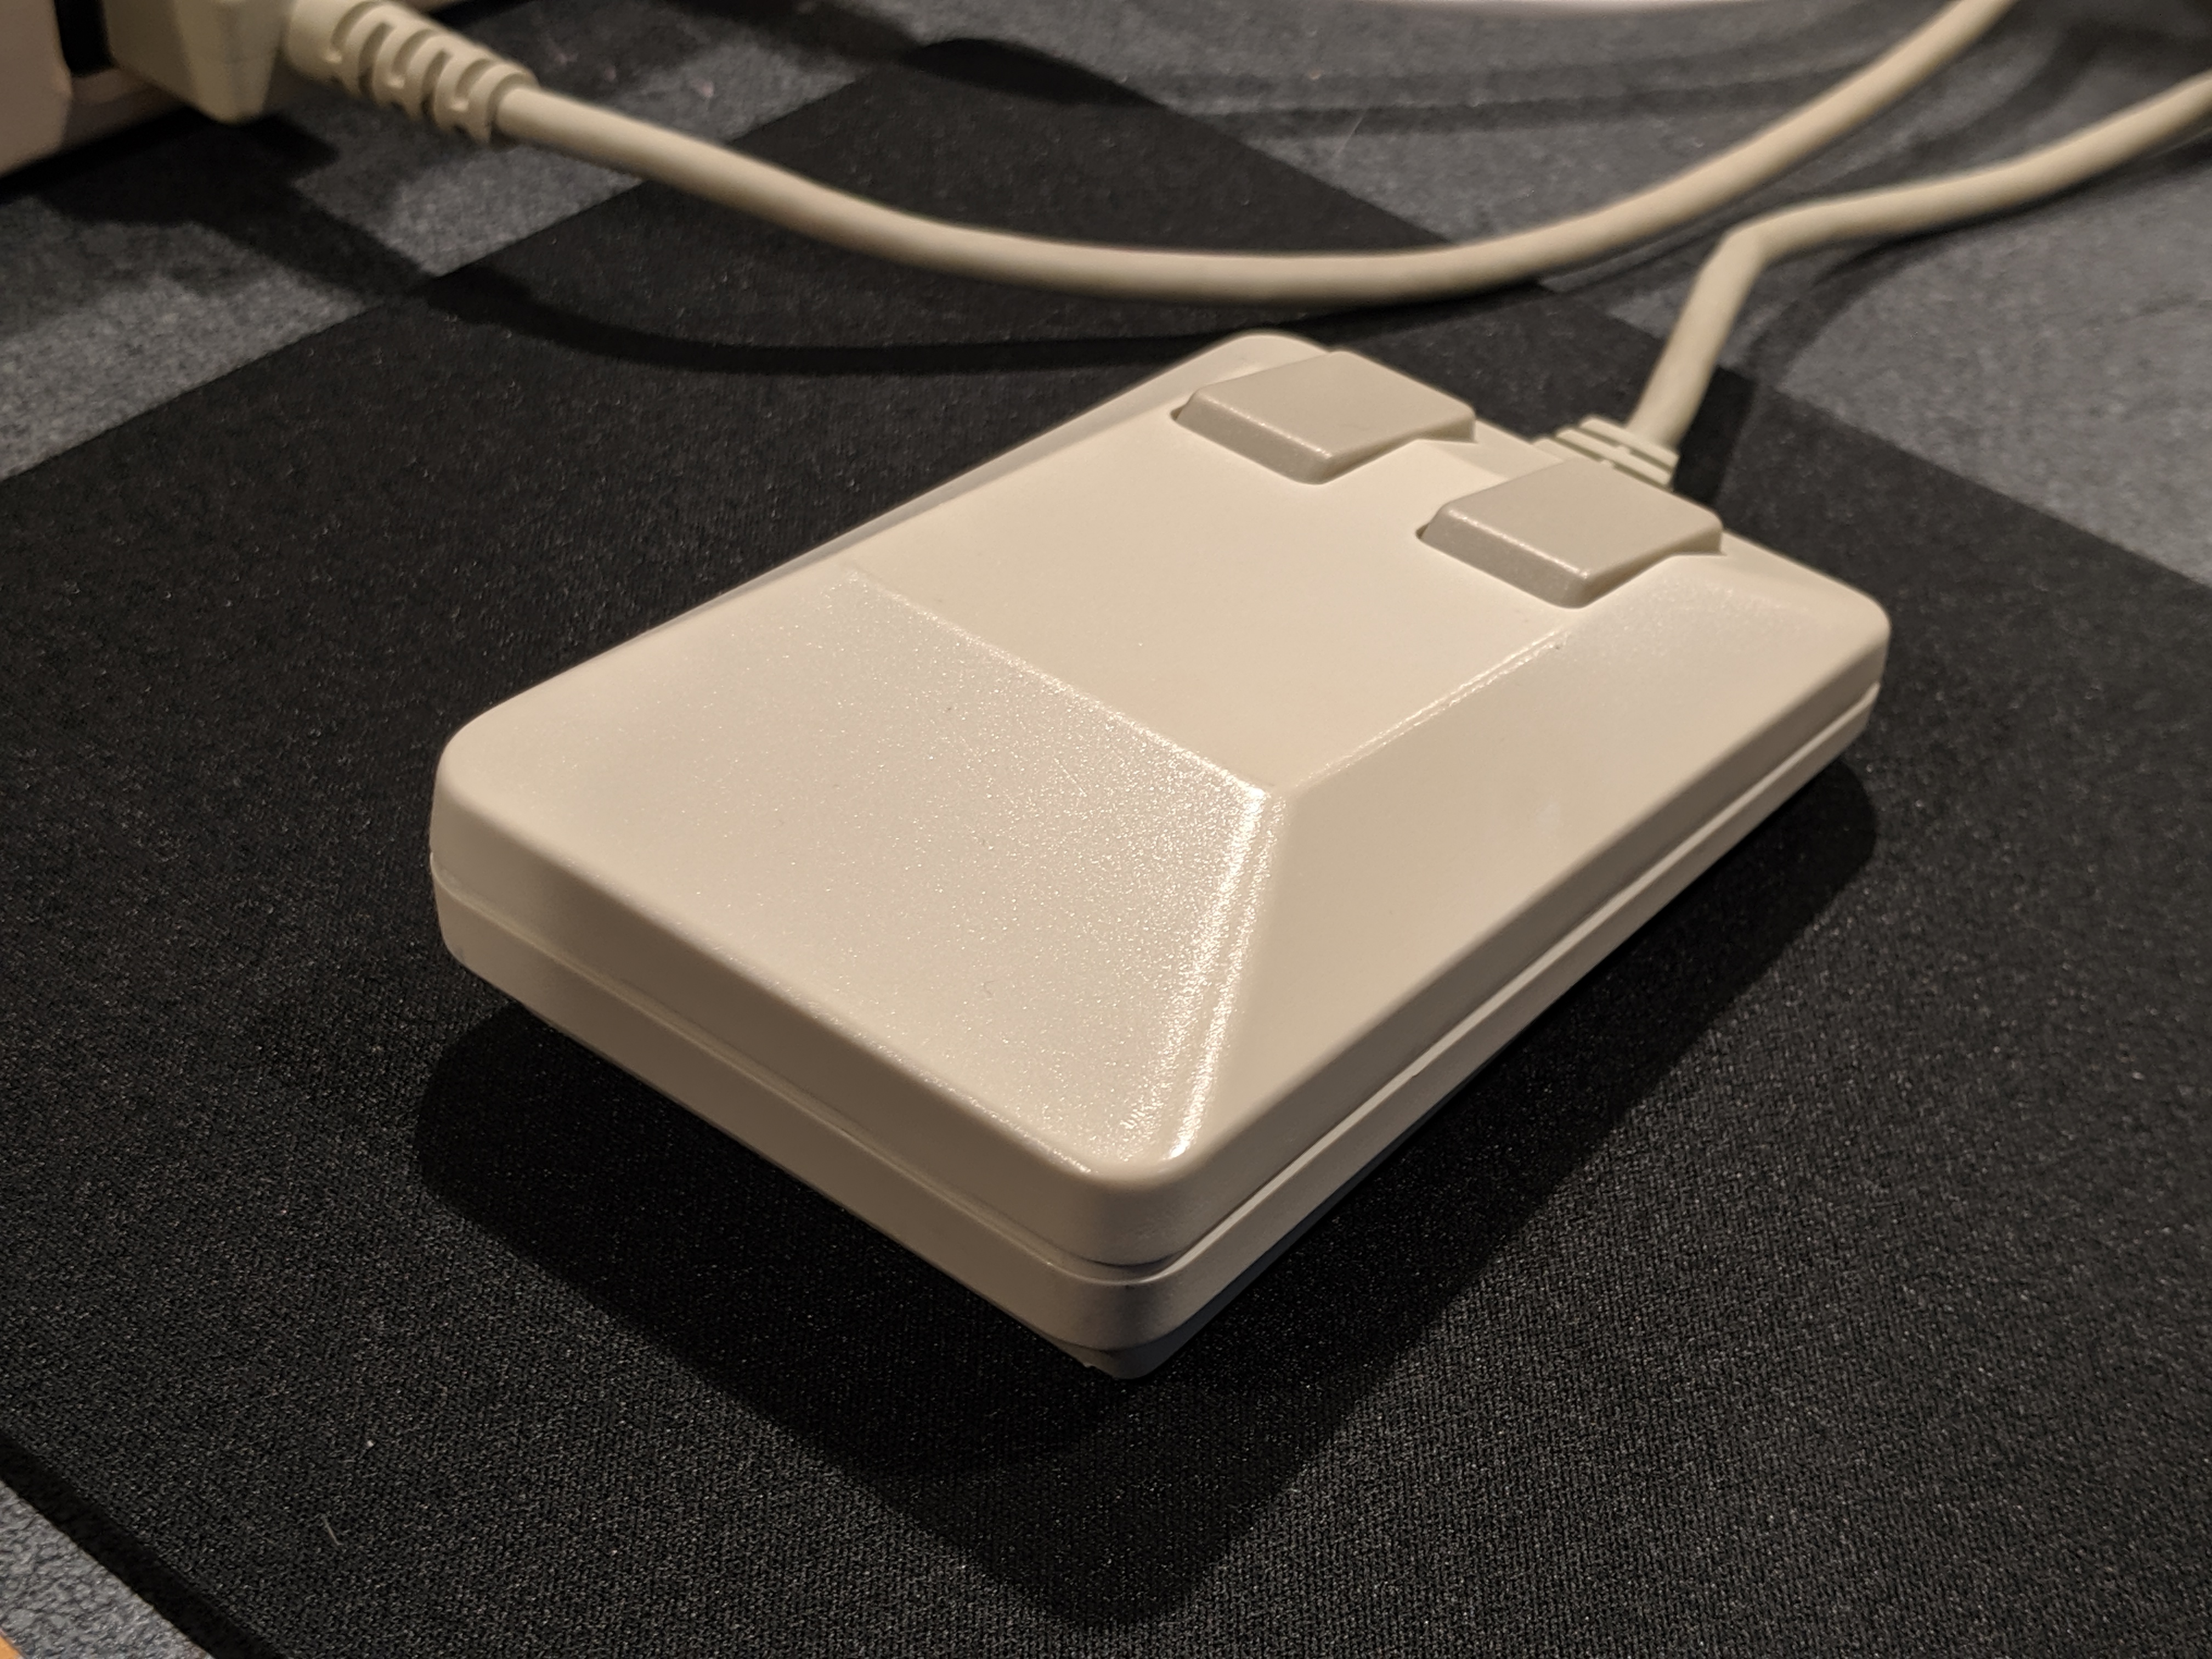
Between the de-yellowing and the new skates, this mouse looks and works great. I'm really happy with the result.